How to Use ClickUp: A Beginner’s Step-by-Step Guide
Managing work across multiple apps can quickly become frustrating. One tool stores your tasks, another holds your documents, while separate apps track goals, time, and team communication. Constantly switching between platforms wastes time, reduces productivity, and makes it difficult to keep projects organized.
By TechScaleMedia Editorial · Updated July 2026 · 11 min read
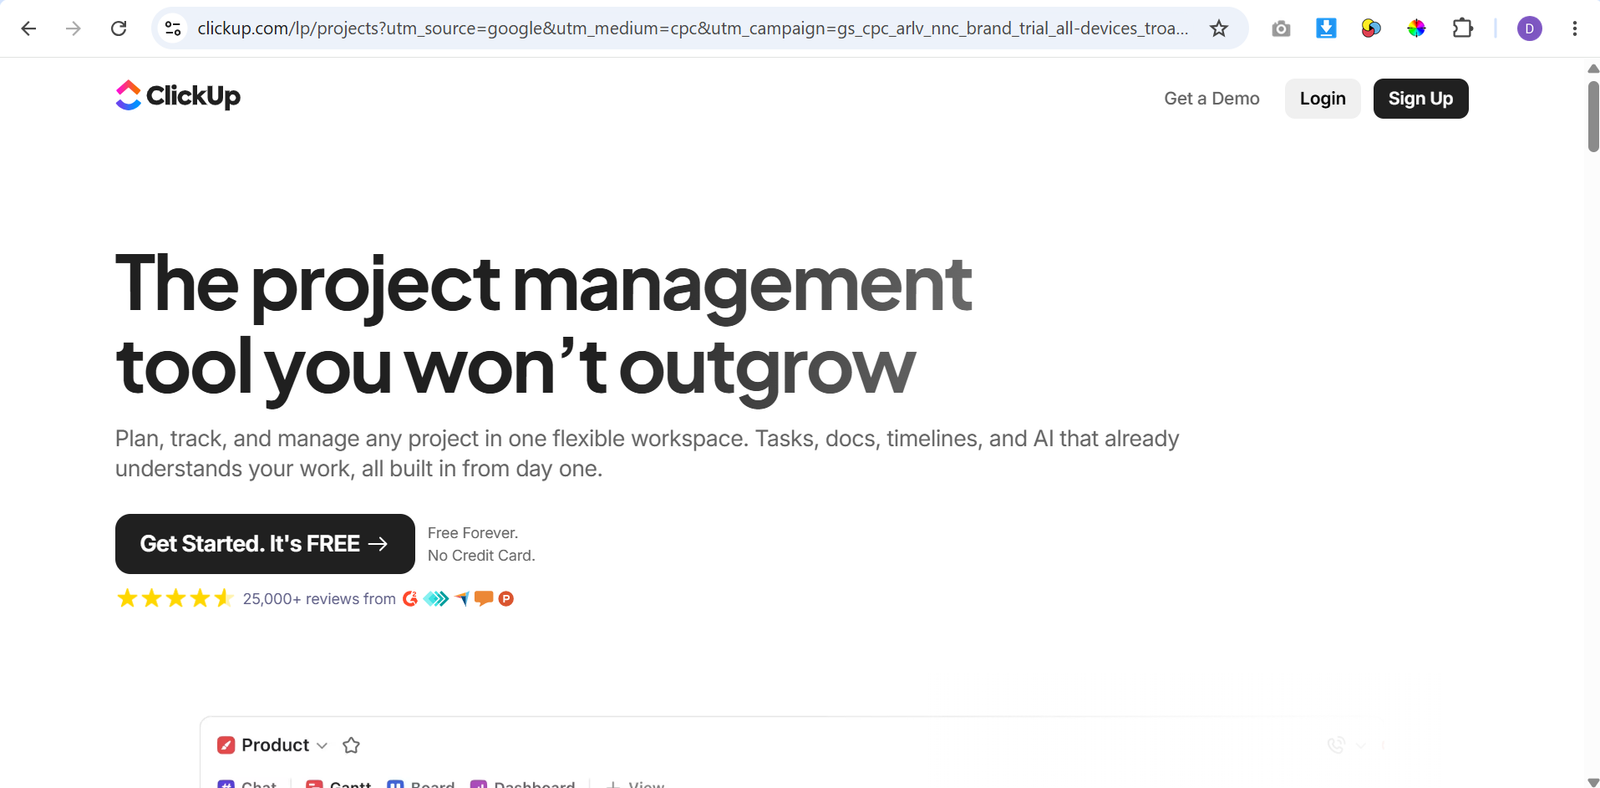
ClickUp solves this problem by bringing task management, documentation, goal tracking, time tracking, team collaboration, and workflow automation into one platform. Whether you’re managing personal projects, running a business, or coordinating a remote team, ClickUp provides a customizable workspace that adapts to your workflow.
In this guide, you’ll learn how to use ClickUp step by step, from setting up your Workspace and organizing tasks to building automations, tracking progress, and collaborating with your team.
How Do You Use ClickUp?
Quick Answer
Using ClickUp is easy:
- Create a ClickUp account.
- Set up your Workspace.
- Organize your work into Spaces, Folders, and Lists.
- Create tasks and subtasks.
- Customize task statuses and fields.
- Choose the best project view.
- Create Docs and connect them to tasks.
- Build workflow automations.
- Track time and monitor goals.
- Review and optimize your workspace regularly.
Prerequisites
Before getting started, you’ll need:
- A ClickUp account
- A computer or mobile device
- Internet connection
- Team member email addresses (for collaboration)
- A basic project or workflow plan
- Optional apps like Slack, GitHub, or Google Calendar for integrations
Create a Workflow Manually (Recommended for Beginners)
If you’re new to project management, creating your first workspace in ClickUp is the best way to understand how the platform actually works.
Step 1: Create Your ClickUp Workspace
After signing up, create your first Workspace, which serves as the main hub for all your projects and teams.
You’ll be asked to provide information such as:
- Workspace name
- Team size
- Industry
- Primary use case
This helps ClickUp recommend templates and features that match your workflow.
Step 2: Organize Your Workspace Structure
ClickUp uses a flexible hierarchy to keep work organized.
Your workspace follows this structure:
- Workspace – Your entire organization
- Spaces – Departments or major teams
- Folders – Related projects
- Lists – Groups of tasks
- Tasks – Individual work items
- Subtasks – Smaller actions within a task
For example:
Workspace → Marketing → Content Projects → Blog Posts → “Publish Product Guide”
Building a logical structure early makes managing larger projects much easier.
Step 3: Create Tasks and Subtasks
Tasks are the foundation of every ClickUp project.
For each task, add:
- Task name
- Description
- Assignee
- Due date
- Priority
- Tags
- Attachments
- Comments
For larger assignments, create subtasks or checklists to divide work into smaller, manageable steps.
This improves accountability and keeps projects moving forward.
Step 4: Customize Task Statuses
Every team has a unique workflow.
Instead of using default statuses, customize them to match your process..
Examples include:
- Backlog
- To Do
- In Progress
- Waiting for Review
- Approved
- Completed
Clear task statuses help everyone understand the current stage of each project without needing additional updates.
Step 5: Choose the Best Project View
ClickUp offers several ways to visualize your work.
Switch between views depending on your project requirements.
List View
Ideal for managing detailed task lists.
Board View
Displays tasks as Kanban cards that move through workflow stages.
Calender View
Perfect for scheduling deadlines, meetings, and content publishing.
Gantt View
Useful for planning timelines, dependencies, and long-term projects.
Table View
Great for organizing structured project data.
Mind Map View
Helps brainstorm ideas and plan complex workflows visually.
Using different views allows team members to work in the format that best suits their role.
Step 6: Create ClickUp Docs
ClickUp Docs allows you to keep documentation alongside your projects.
Use Docs to create:
- Meeting notes
- Standard operating procedures (SOPs)
- Project briefs
- Knowledge bases
- Team guidelines
- Client documentation
You can link Docs directly to related tasks, making important information easy to find.
Step 7: Automate Repetitive Work
ClickUp includes a powerful no-code automation builder that reduces manual work.
Examples include:
- Assign a task when it’s created.
- Notify a reviewer when a task moves to “Review.”
- Change task priority when a deadline approaches.
- Update statuses automatically after completion.
- Move tasks between Lists based on progress.
Automating repetitive actions helps teams stay focused on meaningful work.
Step 8: Track Time on Tasks
If you bill clients or monitor productivity, ClickUp’s built-in time tracker can help.
You can:
- Start and stop timers
- Log manual time entries
- View time reports
- Compare estimated versus actual hours
Time tracking provides valuable insights into project efficiency and resource planning.
Step 9: Set Goals and Build DashboardsCreate Dashboards
Goals help measure project success.
Create measurable targets such as:
- Complete 50 tasks this month
- Launch a marketing campaign
- Reach project milestones
- Finish client deliverables on schedule
Use Dashboards to monitor:
- Task completion
- Team workload
- Time tracking
- Goal progress
- Project health
- Productivity reports
Dashboards give managers a clear overview without opening multiple Lists or Spaces.
Step 10: Connect Your Favorite Tools
ClickUp integrates with many popular business applications.
Popular integrations include:
- Slack
- Google Calendar
- GitHub
- Zoom
- Google Drive
- Dropbox
- Outlook
- Microsoft Teams
- Figma
- Zapier
Connecting these tools centralizes your workflow and reduces the need to switch between applications.
Step 11: Review and Improve Your Workspace
As your business grows, your ClickUp setup should evolve too.
Regularly review your workspace to:
- Archive completed projects
- Remove unused Lists
- Update task templates
- Improve automations
- Standardize naming conventions
- Clean outdated documentation
Routine maintenance keeps your workspace efficient and easy to navigate.
Ready to simplify your workflow?
Start using ClickUp to organize projects, improve team collaboration, and manage all your work from one centralized platform.
How Can You Use ClickUp More Efficiently?
Tips
- Start with one Space before expanding your workspace.
- Use templates to save time on recurring projects.
- Add task priorities to highlight urgent work.
- Link Docs directly to related tasks.
- Use recurring tasks for weekly or monthly responsibilities.
- Keep dashboards simple and focused on key metrics.
- Encourage team members to update task statuses daily.
How Can You Avoid Common ClickUp Errors?
Common Mistakes
- Creating too many Spaces for similar projects.
- Overcomplicating task hierarchies.
- Forgetting to assign task owners.
- Ignoring due dates and reminders.
- Building unnecessary automations.
- Leaving completed projects active indefinitely.
- Using inconsistent task naming conventions.
How Can You Get the Most Value from ClickUp?
Best Practices
- Create a consistent workspace structure before inviting your team.
- Standardize task statuses across similar projects.
- Use custom fields only when they add meaningful information.
- Review dashboards during weekly team meetings.
- Archive completed work regularly to reduce clutter.
- Document important workflows in ClickUp Docs.
- Automate repetitive tasks but avoid unnecessary complexity.
- Regularly review goals to ensure they align with current priorities.
How Can You Troubleshoot ClickUp Effectively?
Troubleshooting
Tasks are difficult to find
Use filters, tags, and the global search feature to locate tasks quickly.
Automations aren’t running
Verify that the trigger conditions and actions are configured correctly.
Team members can’t access projects
Review workspace permissions and sharing settings.
Dashboard data looks incorrect
Confirm that the dashboard widgets are connected to the correct Spaces, Lists, or tasks.
Time tracking isn’t recording hours
Check that the timer is running and that time tracking is enabled for your workspace.
Frequently Asked Questions
Is ClickUp free to use?
Yes. ClickUp offers a free plan with many core features, while paid plans provide advanced tools such as additional automations, dashboards, reporting, and AI-powered capabilities.
Can ClickUp replace multiple productivity tools?
Yes. Many teams use ClickUp to replace separate task managers, documentation tools, time trackers, and goal management software by centralizing everything in one platform.
Does ClickUp include workflow automation?
Yes. ClickUp provides a no-code automation builder that allows you to automate repetitive actions, notifications, task assignments, and status updates.
Can I collaborate with remote teams in ClickUp?
Absolutely. ClickUp supports task assignments, comments, mentions, shared Docs, dashboards, real-time collaboration, and integrations that make it well suited for distributed teams.
Which ClickUp view is best for project management?
It depends on your workflow. List View is ideal for task organization, Board View works well for Kanban workflows, Calendar View helps with scheduling, and Gantt View is excellent for managing timelines and project dependencies.
Conclusion
ClickUp simplifies project management by combining tasks, documents, goals, dashboards, time tracking, and automations into one highly customizable platform. Instead of juggling multiple productivity tools, you can organize your work, collaborate with your team, and monitor progress from a single workspace.
By following the steps in this guide, you’ll be ready to build an organized ClickUp workspace, manage projects efficiently, automate repetitive processes, and create workflows that scale as your team and business grow.
Build a stronger foundation for project management and team productivity with ClickUp.
Start using ClickUp today to organize your projects, streamline team collaboration, and improve productivity with one powerful all-in-one work management platform. As you become familiar with its features, you can customize your workspace to fit your team’s unique workflow and achieve better project outcomes.