How to Use Kinsta: A Beginner’s Step-by-Step Guide
Managing a WordPress website involves much more than publishing content. You also need to handle hosting, security, backups, performance optimization, and software updates. If you’re using traditional shared hosting, these tasks can become time-consuming and may slow down your website as traffic grows. Kinsta solves this problem by providing premium managed WordPress hosting built on Google Cloud Platform, giving you a fast, secure, and scalable hosting environment without the hassle of server management.
By TechScaleMedia Editorial · Updated July 2026 · 11 min read
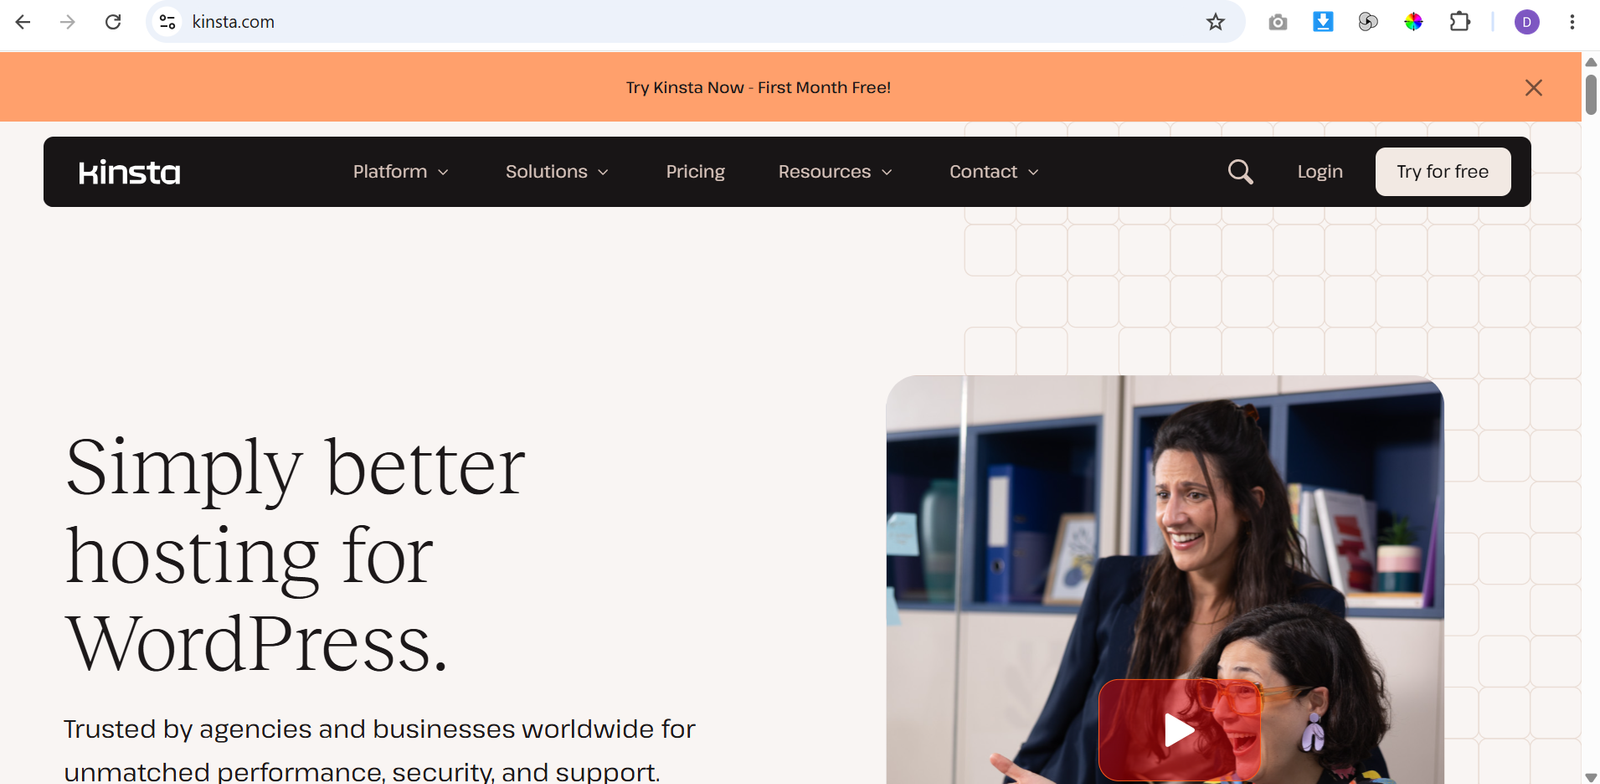
In this guide, you’ll learn how to use Kinsta step by step, from creating your first WordPress site and setting up your domain to managing backups, monitoring performance, and optimizing your website with Kinsta’s built-in tools.
How Do You Use Kinsta?
Quick Answer
To use Kinsta is simple:
- Sign up for a Kinsta hosting plan.
- Log in to the MyKinsta dashboard.
- Create or migrate a WordPress website.
- Choose your preferred data center.
- Connect your domain and install an SSL certificate.
- Create a staging environment.
- Configure automatic backups.
- Monitor website performance.
- Update plugins and themes.
- Enable CDN and caching.
- Add team members if needed.
Prerequisites
Before getting started, you’ll need:
- A Kinsta hosting account
- A registered domain name
- A WordPress website (new or existing)
- Access to your domain’s DNS settings
- Stable internet connection
- Website backup (recommended before migration)
Create a Workflow Manually (Recommended for Beginners)
If you’re new to managed WordPress hosting, launching your first website on Kinsta is the best way to understand how the platform actually works.
Step 1: Sign Up and Log In to MyKinsta
Choose a Kinsta hosting plan that matches your website’s needs. After completing your purchase, sign in to the MyKinsta dashboard.
Unlike traditional hosting providers, Kinsta doesn’t use cPanel. Instead, all website management is handled through the MyKinsta dashboard, which offers an intuitive interface for managing WordPress sites, applications, databases, backups, and performance settings.
Take a few minutes to explore the dashboard before creating your first website.
Step 2: Add a New WordPress Site
Once you’re inside MyKinsta:
- Click Add Service.
- Select WordPress Site.
- Choose whether to:
- Install a new WordPress website
- Migrate an existing website
- Clone another site
- Enter your website details.
- Complete the installation.
Within a few minutes, Kinsta automatically provisions your website using its optimized hosting environment.
Step 3: Choose Your Data Center Location
During setup, you’ll be asked to select a Google Cloud data center.
Choose the location closest to the majority of your visitors.
For example:
- North America
- Europe
- Asia
- Australia
- South America
Selecting a nearby data center reduces server response time and helps improve website loading speed for your audience.
Step 4: Migrate an Existing Website
If you already have a WordPress website hosted elsewhere, Kinsta offers several migration options.
You can:
- Request Kinsta’s free professional migration service.
- Use DevKinsta for local development and migration.
- Manually migrate your website if you prefer.
After migration is complete, review your website carefully to ensure pages, images, plugins, and forms are working correctly before updating your DNS records.
Step 5: Connect Your Domain and Enable SSL
After your website is ready:
- Open your site’s Domains section.
- Add your custom domain.
- Update your domain’s DNS records to point to Kinsta.
- Verify domain ownership.
Next, issue a free SSL certificate directly from the dashboard.
Enabling HTTPS encrypts data transferred between your visitors and your website while also improving trust and search engine rankings.
Step 6: Create a Staging Environment
Before making significant changes, create a staging copy of your website.
To do this:
- Open your website in MyKinsta.
- Switch to the Staging Environment.
- Generate a staging site.
You can safely test:
- New plugins
- Theme updates
- Custom code
- WordPress updates
- Design changes
Once you’re satisfied with the results, push the staging site to your live production website.
Step 7: Configure Automatic Backups
Regular backups help protect your website from accidental data loss.
Open the Backups section and configure:
- Daily automatic backups
- Manual backups before major changes
- Downloadable backups (if required)
- Backup retention settings
If something goes wrong, restoring your website only takes a few clicks.
Step 8: Monitor Website Performance
Kinsta includes an integrated Application Performance Monitoring (APM) tool that helps identify performance bottlenecks.
Use APM to monitor:
- Slow database queries
- PHP performance
- Plugin performance
- External API requests
- Long-loading pages
Review performance reports regularly to keep your website running efficiently.
Step 9: Manage Plugins and Themes
Keeping WordPress updated is essential for security and performance.
Regularly:
- Update plugins.
- Update themes.
- Remove unused plugins.
- Delete inactive themes.
Kinsta automatically creates backups before updates, making it easier to restore your website if an update causes compatibility issues.
Step 10: Enable CDN and Caching
Kinsta includes a Cloudflare-powered Content Delivery Network (CDN) and advanced caching features.
To optimize performance:
- Enable the CDN.
- Activate Edge Caching.
- Clear cache after making website changes.
- Review cache settings if dynamic content isn’t updating correctly.
These features help reduce page load times for visitors worldwide.
Step 11: Add Team Members
If you work with developers, designers, marketers, or clients, you can grant them controlled access to your account.
From the Users section:
- Invite new team members.
- Assign appropriate roles.
- Limit permissions based on responsibilities.
This makes collaboration easier while maintaining account security.
Ready to host your WordPress website on a high-performance platform?
Start using Kinsta and manage your websites with speed, security, and confidence.
How Can You Get the Most Value from Kinsta?
Tips
- Choose the data center closest to your target audience.
- Keep your installation lightweight.
- Remove extensions you no longer use.
- Review APM reports regularly.
- Enable Edge Caching for global visitors.
- Test updates before publishing.
What Should You Avoid When Using Kinsta?
Common Mistakes
- Choosing a data center far from your primary audience.
- Making changes directly on the live website.
- Ignoring backup settings.
- Installing too many plugins.
- Forgetting to clear cache after updates.
- Delaying WordPress or plugin updates.
- Not monitoring website performance regularly.
How Can You Maximize Your Kinsta Experience?
Best Practices
- Test every major update in staging before publishing.
- Schedule regular automatic backups.
- Monitor website performance every week.
- Keep your WordPress installation updated.
- Limit administrator access to trusted users.
- Optimize images before uploading.
- Use only well-maintained plugins and themes.
- Review performance reports after installing new features.
How Can You Troubleshoot Kinsta Effectively?
Troubleshooting
Website isn’t loading after migration
Verify your DNS settings, allow DNS propagation to complete, and check whether the migration finished successfully.
SSL certificate isn’t working
Ensure your domain points to Kinsta correctly before issuing or renewing the SSL certificate.
Website changes aren’t appearing
Clear your website cache, browser cache, and CDN cache before checking the updated pages.
Slow website performance
Use Kinsta’s APM tool to identify slow plugins, database queries, or third-party services affecting performance.
Plugin update caused problems
Restore the latest backup or revert your changes using the staging environment before updating the live website again.
Frequently Asked Questions
Does Kinsta use cPanel?
No. Kinsta uses its own custom MyKinsta dashboard instead of cPanel, making website management simpler and more streamlined.
Can I migrate my WordPress site to Kinsta?
Yes. Kinsta offers free professional website migrations for eligible plans, and you can also migrate websites using DevKinsta or manually.
What is the staging environment?
The staging environment is a private copy of your website where you can safely test updates, plugins, themes, and custom code before applying changes to your live site.
Does Kinsta include backups?
Yes. Kinsta automatically creates daily backups and also allows manual backups and one-click restores.
Is Kinsta suitable for WooCommerce stores?
Yes. Kinsta is optimized for WooCommerce and provides the performance, security, and scalability needed for online stores.
Does Kinsta include a CDN?
Yes. Kinsta includes a Cloudflare-powered CDN and Edge Caching to improve website performance for visitors around the world.
Is Kinsta good for agencies and developers?
Yes. Kinsta offers staging environments, SSH access, developer tools, team management, application hosting, and performance monitoring, making it an excellent choice for agencies and development teams.
Conclusion
Kinsta streamlines hosting by combining powerful cloud infrastructure, built-in security, automated backups, staging tools, and performance optimization into one intuitive platform. Whether you’re launching a personal blog, business site, or WooCommerce store, MyKinsta makes day-to-day administration straightforward. By following the steps in this guide, you can confidently deploy, optimize, and maintain a reliable online presence while spending less time on technical maintenance.
Build a stronger foundation for managed WordPress hosting and website performance with Kinsta.
Start using Kinsta today to host your WordPress website on a high-performance managed platform, simplify website management with MyKinsta, and deliver a faster, more secure experience for your visitors.