How to Use Apidog: A Complete Beginner’s Guide
Building and managing APIs often requires switching between multiple tools. You might use one platform to design APIs, another to test endpoints, a separate tool for mocking responses, and yet another for documentation and automated testing. This fragmented workflow slows development, increases errors, and makes collaboration more difficult—especially for growing development teams.
That’s where Apidog solves the problem.
By TechScaleMedia Editorial · Updated July 2026 · 11 min read
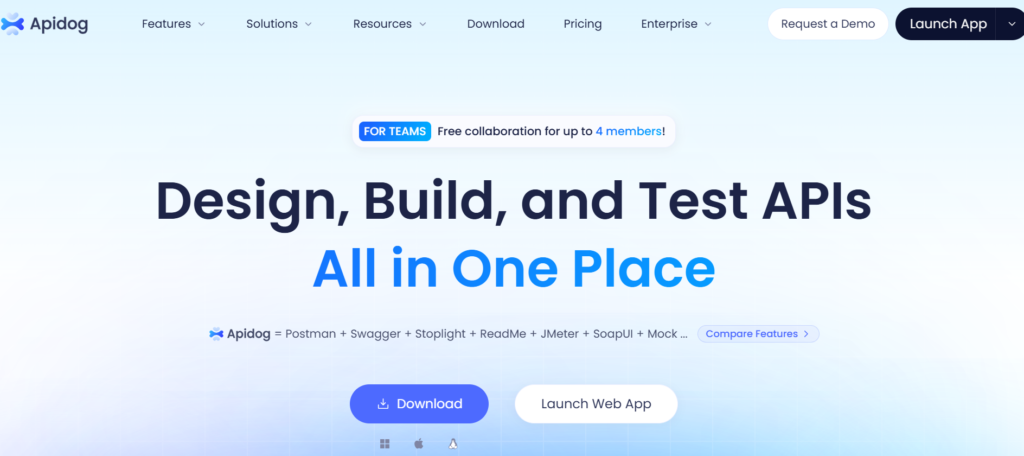
Apidog is an all-in-one API development platform that brings the entire API lifecycle into a single workspace. Instead of juggling tools like Postman, Swagger, Mockoon, and JMeter, you can design APIs, debug requests, create mock servers, automate testing, publish interactive documentation, and collaborate with your team from one platform. It also supports multiple API protocols—including REST, GraphQL, gRPC, WebSocket, SOAP, and SSE—and introduces native MCP support, allowing AI coding assistants to better understand and work with your API specifications.
Whether you’re a frontend developer, backend engineer, QA tester, DevOps professional, or API designer, Apidog helps you build, test, and maintain APIs faster while improving team collaboration throughout the development process.
If you’re ready to simplify API development and replace multiple API tools with one collaborative solution, follow this step-by-step guide to learn how to use Apidog effectively.
Quick Answer
To use Apidog, create an account, set up a workspace, import or design your API, test requests, generate mock APIs, automate testing, and publish interactive documentation. Once your project is ready, collaborate with your team and manage your APIs from a single platform.
Prerequisites
Before getting started, make sure you have:
- A free Apidog account
- Stable internet connection
- Basic understanding of APIs
- Existing API project (optional)
- Desktop application or web version
Create a Workflow Manually (Recommended for Beginners)
If you’re new to API development, building your first API request in Apidog is the best way to understand how the platform works:
Step 1: Create Your Apidog Account
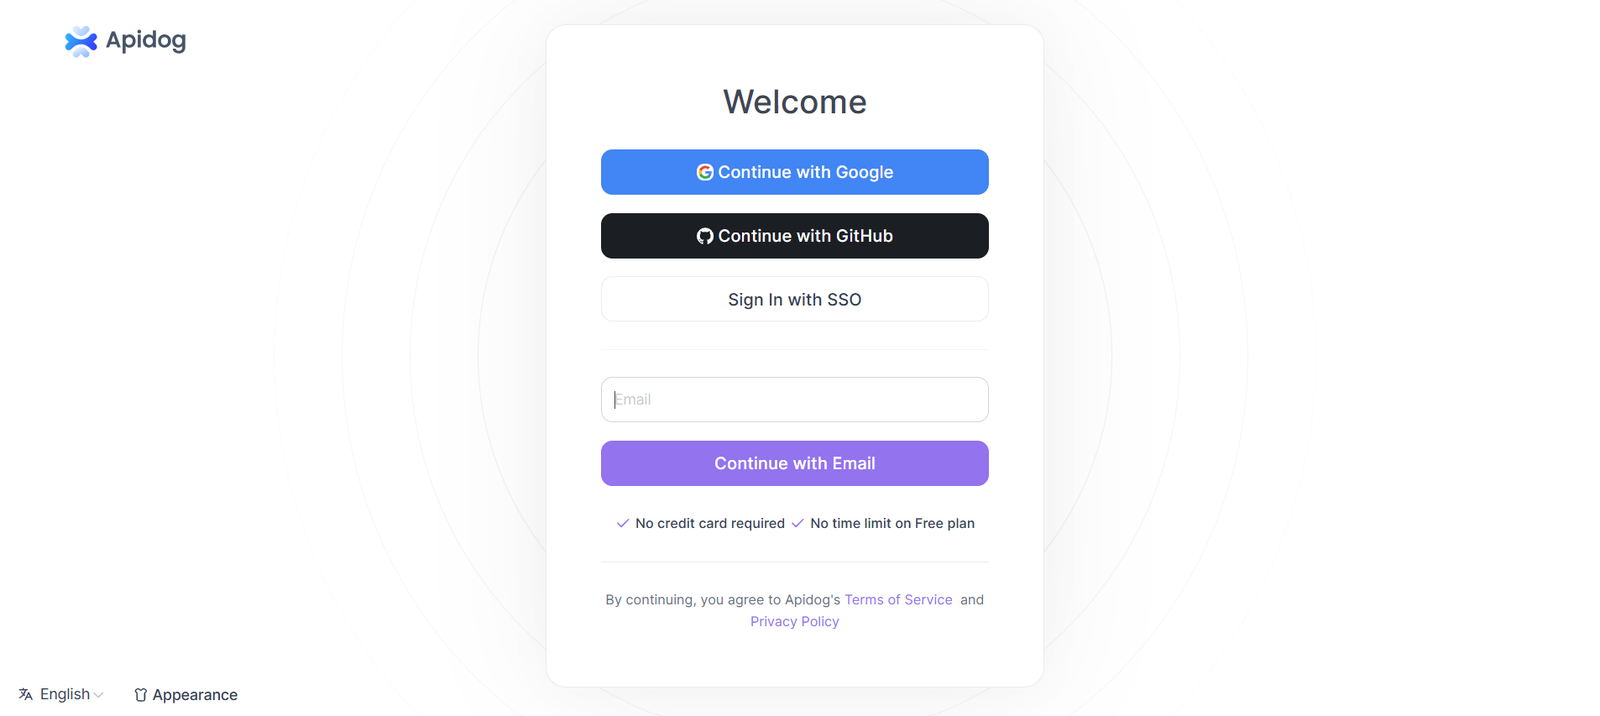
- Visit the Apidog website.
- Click Sign Up.
- Register using your email or Google account.
- Verify your email address.
- Log in to your account.
After logging in, you’ll be taken to the Apidog dashboard where you can create your first workspace.
Step 2: Create a Workspace
Click New Workspace.
Enter:
- Workspace Name
- Description
- Team Members (optional)
Click Create Workspace.
Your workspace becomes the central location where your team manages APIs, tests, documentation, and projects.
Step 3: Import or Design Your API
Apidog supports multiple ways to create APIs.
Import Existing APIs
Import:
- OpenAPI / Swagger
- Postman Collections
- URL
- JSON
- YAML
OR
Design APIs From Scratch
Create:
- API paths
- Methods
- Parameters
- Headers
- Authentication
- Request body
- Response schema
Save your API.
Step 4: Debug Your API
Open any endpoint.
Choose the request method:
- GET
- POST
- PUT
- PATCH
- DELETE
Enter:
- URL
- Headers
- Authentication
- Parameters
- Request Body
Click Send.
Apidog displays:
- Status Code
- Response Time
- JSON Response
- Headers
- Cookies
This helps you verify whether your API behaves as expected.
Step 5: Generate Mock APIs
Mocking allows frontend development before the backend is finished.
To create a mock:
- Open your endpoint.
- Enable Mock Response.
- Define sample response data.
- Save changes.
Apidog instantly generates a mock endpoint that developers can use for testing and UI development.
Step 6: Create Automated API Tests
Testing ensures your APIs continue working after updates.
Inside the Testing module:
- Create a new Test Case.
- Select an API endpoint.
- Define assertions.
- Add variables.
- Save the test.
Run the test manually or automate it using Apidog’s CLI in your CI/CD pipeline.
Step 7: Publish Interactive API Documentation
After finalizing your APIs:
Open Documentation.
Click Publish.
Apidog automatically generates professional interactive documentation including:
- Endpoints
- Parameters
- Authentication
- Example Requests
- Example Responses
- Error Codes
Share documentation with developers and clients using a secure URL.
Step 8: Collaborate with Your Team
Invite teammates into your workspace.
Assign roles:
- Admin
- Developer
- Tester
- Viewer
Team members can:
- Review APIs
- Leave comments
- Update endpoints
- Track changes
- Manage versions
Everything stays synchronized in one workspace.
Step 9: Use MCP Support for AI Development
One of Apidog’s newest features is native Model Context Protocol (MCP) support.
Developers can:
- Connect the Apidog MCP Server to AI coding assistants like Cursor or Visual Studio Code with compatible AI extensions.
- Allow AI tools to understand API specifications directly.
- Debug MCP servers visually using the built-in MCP Client.
- Configure OAuth 2.0 authentication automatically for supported MCP connections.
This enables AI-assisted coding tools to generate more accurate API requests, client code, and integrations using your live API definitions.
You’re Ready to Start Using Apidog.
Ready to simplify your API development and testing workflow?
Create, test, and document your first API in minutes with Apidog and streamline your entire development process.
Tips to Get the Most Out of Apidog
These expert tips will help you build more efficient, secure, and well-documented APIs with Apidog:
- Create reusable request collections for common workflows.
- Save frequently used authentication methods as reusable templates.
- Use mock servers during frontend development.
- Store variables in environments to avoid editing requests repeatedly.
- Use folders to organize large API projects.
- Run automated tests before deploying API updates.
These features can save hours of API development time and help you build more efficient, reliable, and well-documented APIs.
Common Apidog Mistakes to Avoid
Avoid these common mistakes when using Apidog:
- Skipping environments for different deployment stages.
- Hardcoding API URLs or authentication tokens.
- Not updating mock responses after API changes.
- Relying only on manual testing instead of automated tests.
- Forgetting to publish updated API documentation.
Best Practices for Building Reliable Automations
Follow these best practices to build reliable, well-organized APIs.
- Organize projects with clear folders and use consistent naming conventions for easier navigation.
- Use environments to manage API URLs, authentication tokens, and variables across development, staging, and production.
- Keep API documentation updated whenever endpoints are modified to ensure accurate team collaboration.
- Automate regression testing to identify breaking changes before deploying API updates.
- Version your APIs instead of changing live endpoints to maintain backward compatibility.
Troubleshooting Common Apidog Issues
Current troubleshooting is repetitive.
API request fails
Verify the endpoint URL, authentication credentials, request headers, and parameters.
Environment variables aren’t loading
Confirm you’ve selected the correct environment and defined all required variables.
Mock API returns unexpected data
Update the mock response and republish the endpoint.
Automated tests fail
Review your assertions and ensure the API response matches the expected result.
MCP connection issues
Check your MCP server configuration, authentication, and network access
Frequently Asked Questions
Is Apidog free?
Yes. Apidog offers a free plan with essential API development features. Paid plans include advanced collaboration and enterprise capabilities.
Can Apidog replace Postman?
Yes. Apidog combines API design, testing, mocking, documentation, and collaboration in one platform, making it a strong alternative to Postman.
Which API protocols does Apidog support?
Apidog supports REST, GraphQL, gRPC, WebSocket, SOAP, and Server-Sent Events (SSE).
Can I import existing API projects?
Yes. You can import OpenAPI, Swagger, Postman collections, JSON, and YAML files.
Who should use Apidog?
Apidog is suitable for frontend and backend developers, QA engineers, DevOps teams, API designers, and technical teams managing API-based applications.
Conclusion
Apidog simplifies API development by bringing design, testing, mocking, documentation, automation, and collaboration into one platform. Instead of switching between multiple tools, you can manage the entire API lifecycle from a single workspace, helping your team build APIs faster and more efficiently.
Start Building Better APIs with Apidog
Ready to simplify your API workflow? Create your first Apidog workspace, import or design an API, and explore features like automated testing, mock servers, interactive documentation, and AI-powered MCP support—all from one platform.