How to Use Adobe Products: A Beginner’s Step-by-Step Guide (Using Photoshop as an Example)
Learn how to use Adobe products with this beginner-friendly step-by-step guide, using Photoshop as an example to help you understand the essential tools and editing workflow.
By TechScaleMedia Editorial · Updated July 2026 · 11 min read
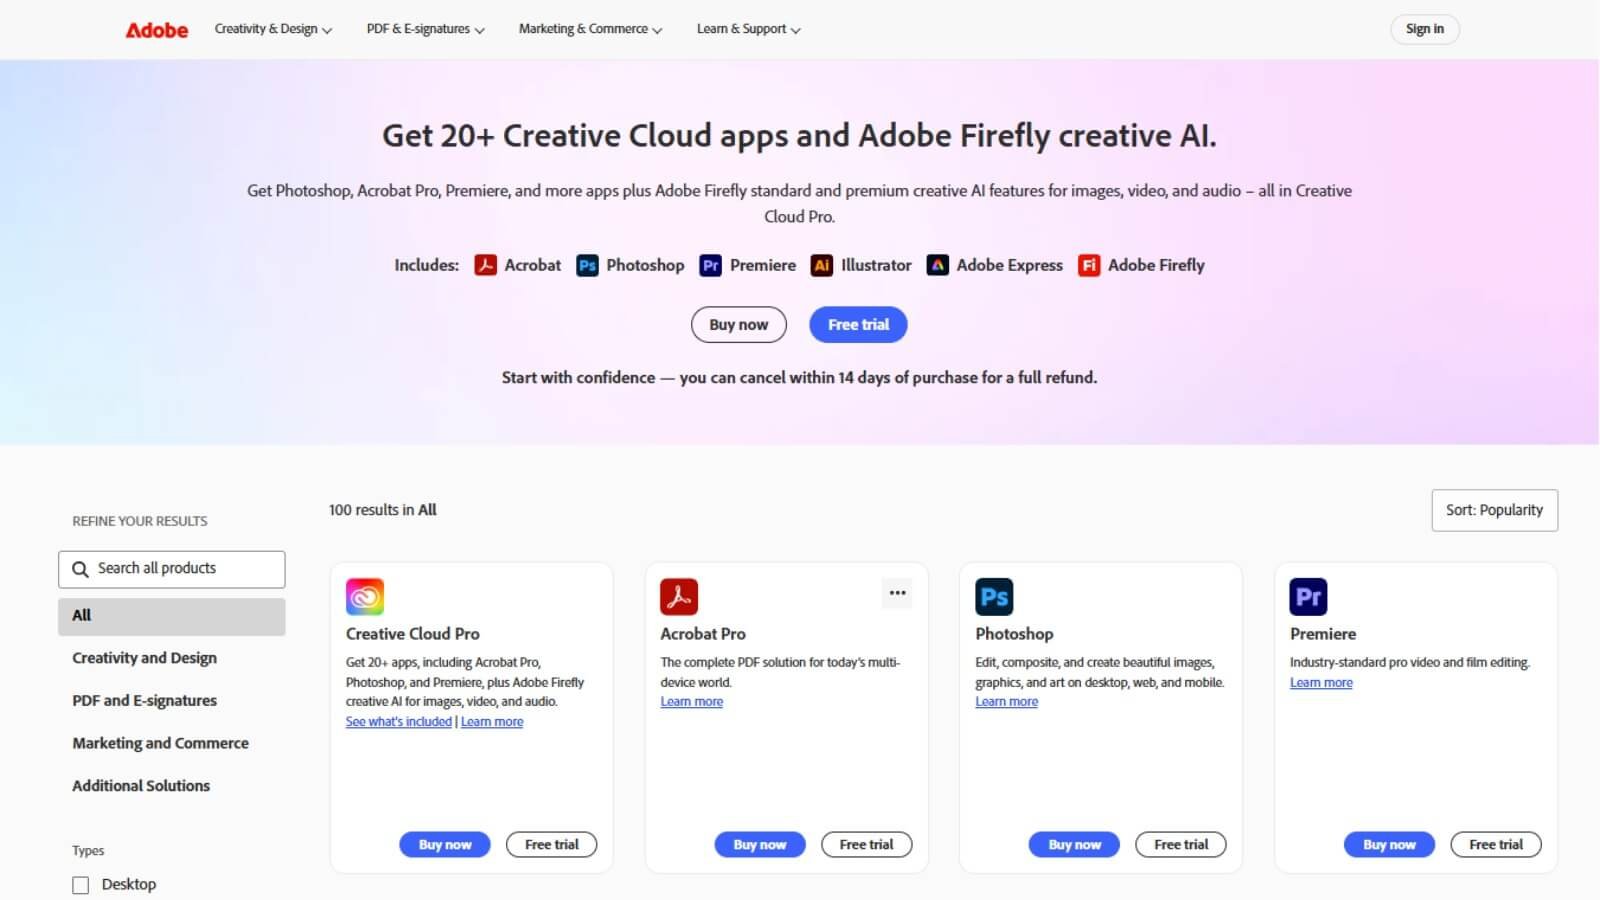
Adobe offers one of the most popular creative software suites for designers, photographers, marketers, video editors, and business professionals. Through Adobe Creative Cloud, users can access industry-leading applications for photo editing, graphic design, video production, document management, and digital publishing.
This guide uses Adobe Photoshop as the primary example because it’s one of Adobe’s most widely used applications. You’ll learn how to set up Creative Cloud, create your first project, edit images using essential tools, take advantage of AI-powered features, and export your finished work. The same workflow also helps you understand other Adobe applications such as Illustrator, Premiere Pro, InDesign, and Acrobat.
Ready to start creating professional-quality designs? Follow this step-by-step guide to learn the basics of Adobe Photoshop and the Creative Cloud ecosystem.
How Do You Use Adobe Products?
Quick Answer
Using Adobe software is simple:
- Subscribe to Adobe Creative Cloud.
- Install Photoshop using the Creative Cloud desktop app.
- Create or open a document.
- Organize your project with layers.
- Edit your design using built-in tools.
- Use Adobe AI features to speed up your workflow.
- Access Adobe Fonts and Creative Cloud Libraries.
- Share your project for collaboration.
- Export the file in the appropriate format.
- Explore other Adobe applications for specialized tasks.
Prerequisites
Before getting started, you’ll need:
- An Adobe account
- An active Creative Cloud subscription
- Photoshop installed on your computer
- A compatible Windows or macOS device
- Images or design assets for practice (optional)
Step-by-Step Instructions
Follow these simple steps to use Adobe Photoshop, from opening your first project to editing and exporting professional-quality images with ease.
Step 1: Subscribe to Adobe Creative Cloud
Create an Adobe account and choose a Creative Cloud subscription.
Available options include:
- Photoshop Single App Plan
- Photography Plan
- Creative Cloud All Apps Plan
- Student and Teacher Plans
- Business Plans
Select the plan that matches your creative needs and budget.
Step 2: Install Photoshop
Download the Creative Cloud desktop application and install Photoshop.
The desktop app also allows you to:
- Install additional Adobe applications
- Receive software updates
- Manage Creative Cloud storage
- Sync fonts and libraries
Keeping everything in one place simplifies software management.
Step 3: Create or Open a Project
Launch Photoshop and either create a new document or open an existing image.
When creating a new file, configure:
- Canvas size
- Resolution
- Color mode
- Background settings
Choosing the correct document settings at the beginning helps ensure your project is suitable for print or digital use.
Step 4: Organize Your Design with Layers
Layers allow you to edit different elements independently without affecting the entire image.
Separate items such as:
- Backgrounds
- Images
- Text
- Shapes
- Effects
This non-destructive editing approach makes future adjustments much easier.
Step 5: Edit Your Image
Use Photoshop’s editing tools to improve or transform your design.
Popular tools include:
- Selection Tools
- Crop Tool
- Brush Tool
- Healing Brush
- Clone Stamp
- Adjustment Layers
- Filters
These features allow you to remove imperfections, adjust colors, enhance lighting, and create professional-looking images.
Step 6: Use Adobe Sensei AI Features
Photoshop includes AI-powered tools that automate complex editing tasks.
Examples include:
- Generative Fill
- Content-Aware Fill
- Neural Filters
- Remove Tool
These features can speed up editing while reducing the amount of manual work required.
Step 7: Work with Adobe Fonts and Libraries
Access Adobe Fonts directly from Photoshop to use professionally licensed typefaces.
You can also use Creative Cloud Libraries to store:
- Brand colors
- Logos
- Graphics
- Styles
- Frequently used assets
Libraries help maintain consistency across multiple projects and Adobe applications.
Step 8: Share Your Project for Collaboration
Creative Cloud makes it easy to collaborate with clients and team members.
You can:
- Share review links
- Collect feedback
- Receive comments
- Manage version history
- Access projects from different devices
This streamlines the review process without constantly exchanging files by email.
Step 9: Export Your Finished File
Once your project is complete, export it using the format that best matches its intended use.
Common formats include:
- JPEG
- PNG
- PSD
- TIFF
Selecting the appropriate format helps preserve image quality while meeting publishing requirements.
Step 10: Explore Other Adobe Applications
As your creative skills expand, you can use additional Adobe software for specialized projects.
Popular applications include:
- Illustrator for vector graphics
- Premiere Pro for video editing
- InDesign for page layout and publishing
- Acrobat for creating, editing, and signing PDF documents
Each application is designed for a specific creative workflow while integrating seamlessly with Creative Cloud.
Tips
Get the best results from Adobe Photoshop by using keyboard shortcuts, organizing your layers, saving your work frequently, and practicing with simple projects to build your editing skills.
- Learn keyboard shortcuts to complete editing tasks more efficiently.
- Save editable PSD files before exporting final versions.
- Zoom in while retouching images to improve precision.
- Use guides and rulers to align design elements accurately.
- Experiment with AI tools on duplicate files to compare results.
Common Mistakes
- Editing directly on the original image instead of using separate layers.
- Choosing the wrong color mode for the final output.
- Stretching images beyond their original resolution, reducing quality.
- Applying excessive filters that make designs look unnatural.
- Exporting files without checking the required format or dimensions.
Troubleshooting
Photoshop is running slowly
Close unnecessary applications, allocate sufficient memory in Photoshop settings, and ensure your graphics drivers are updated.
Fonts are missing
Verify that Adobe Fonts are activated and synchronized through the Creative Cloud desktop app.
AI features aren’t available
Check that you’re using the latest Photoshop version and that your Creative Cloud subscription supports Adobe Sensei features.
Unable to open a project
Confirm that the file isn’t corrupted and that it was created with a compatible Photoshop version.
Exported images look blurry
Review the document resolution and export settings before saving the final file.
Best Practices
- Organize project files into clearly labeled folders for easier management.
- Name layers descriptively to simplify future edits.
- Back up important work using Creative Cloud storage or another secure solution.
- Review designs at full size before exporting or printing.
- Keep Photoshop and Creative Cloud applications updated to access the latest tools and performance improvements.
Frequently Asked Questions
What is Adobe Creative Cloud used for?
Adobe Creative Cloud is a collection of creative applications for photo editing, graphic design, video editing, page layout, illustration, and PDF management.
Is Photoshop suitable for beginners?
Yes. Photoshop offers beginner-friendly tools while also providing advanced features for professional designers and photographers.
What’s the difference between Photoshop and Illustrator?
Photoshop is primarily used for editing raster images and photographs, while Illustrator is designed for creating scalable vector graphics such as logos and illustrations.
Can I edit PDF files with Adobe?
Yes. Adobe Acrobat allows users to create, edit, convert, sign, and organize PDF documents.
Does Photoshop include AI features?
Yes. Photoshop includes Adobe Sensei-powered tools such as Generative Fill, Neural Filters, and Content-Aware Fill to simplify complex editing tasks.
Which Adobe subscription should I choose?
If you only need Photoshop, a Single App Plan may be sufficient. If you regularly use multiple Adobe applications, the Creative Cloud All Apps Plan offers the best value.
Conclusion
Adobe Creative Cloud provides a complete ecosystem of creative tools for photography, graphic design, video production, publishing, and document management. Starting with Photoshop helps you develop essential editing skills while introducing workflows that extend across other Adobe applications. As you gain experience, you can incorporate additional Creative Cloud apps into your projects to handle specialized creative tasks more efficiently.
Ready to Master Adobe Photoshop? Get Started Now
Start using Adobe Creative Cloud today to edit photos, design professional graphics, create engaging content, and streamline your creative workflow with industry-leading software.