How to Use Autodesk Products: A Beginner’s Step-by-Step Guide (Using AutoCAD as an Example)
Learn how to use Autodesk products with this beginner-friendly guide, using AutoCAD as an example to help you create designs, edit drawings, and master essential CAD tools step by step.
By TechScaleMedia Editorial · Updated July 2026 · 11 min read
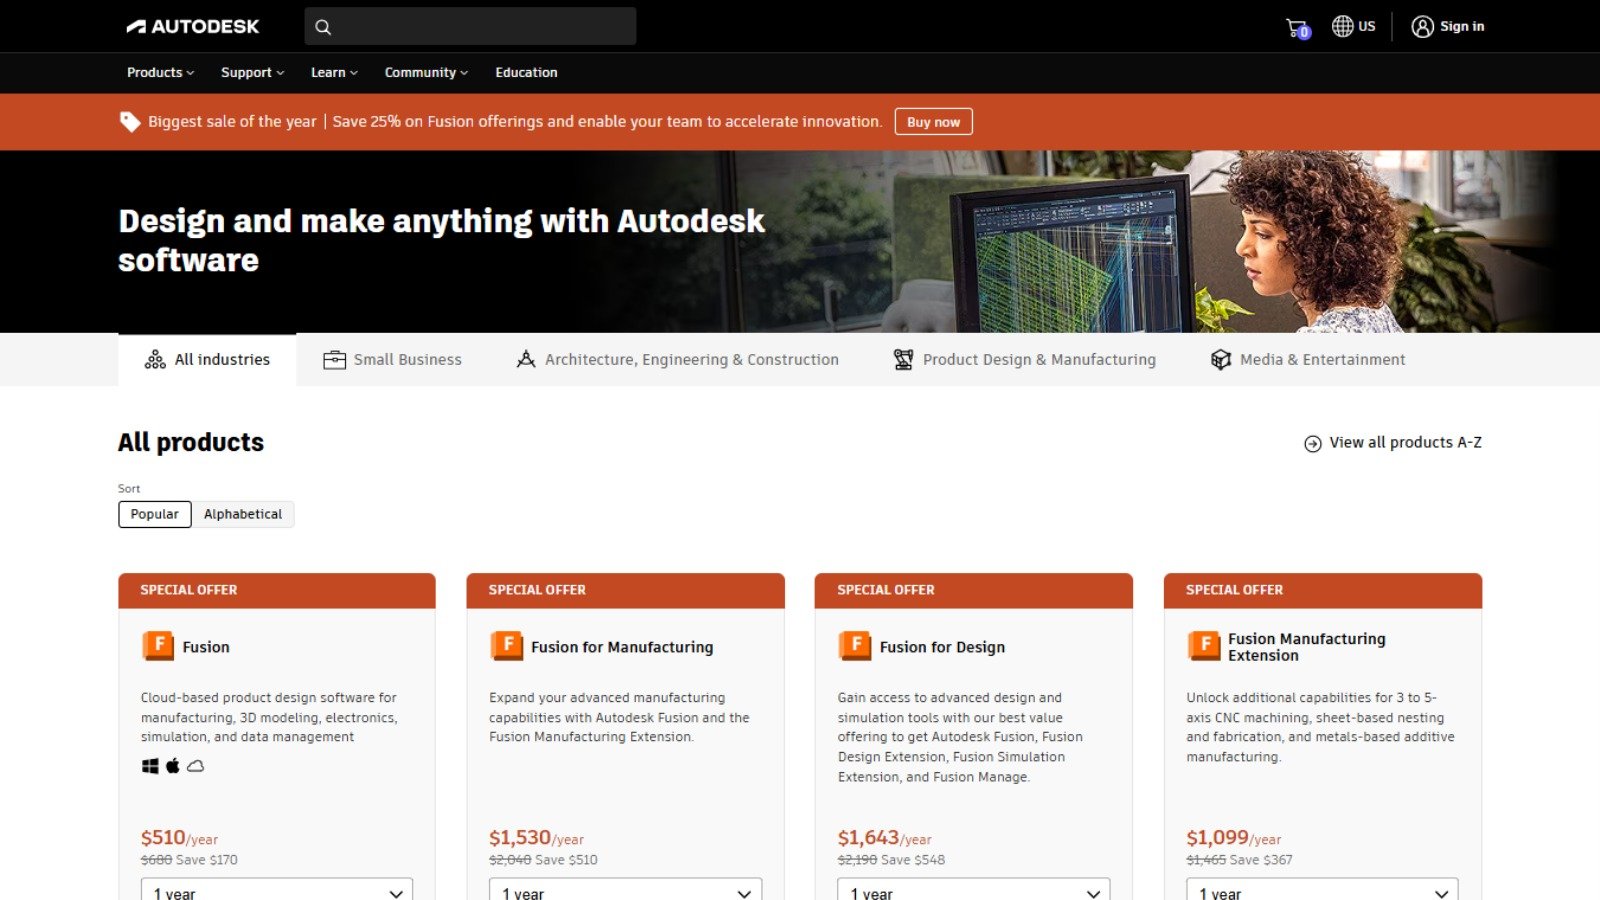
Autodesk offers a wide range of design and engineering software used by architects, engineers, manufacturers, and creative professionals worldwide. Whether you’re creating technical drawings, designing buildings, developing products, or producing 3D models, Autodesk provides specialized applications for every stage of the design process.
This guide uses AutoCAD as the primary example because it’s one of Autodesk’s most widely used applications. You’ll learn how to set up the software, create your first drawing, organize your project, collaborate with others, and export your finished work. The same workflow principles also apply to other Autodesk products such as Revit, Fusion, and Maya.
Ready to start designing with Autodesk? Follow this step-by-step guide to build your first project and become familiar with the essential tools.
How Do You Use Autodesk Products?
Quick Answer
Using Autodesk software is straightforward:
- Create an Autodesk account.
- Install your preferred Autodesk application.
- Configure your workspace.
- Create or open a project.
- Draw using essential tools.
- Organize objects with layers.
- Insert reusable components.
- Collaborate using Autodesk Cloud.
- Export or print your design.
- Explore other Autodesk applications as your skills grow.
Prerequisites
Before getting started, you’ll need:
- An Autodesk account
- An active Autodesk subscription or educational license
- AutoCAD or another Autodesk application installed
- A computer that meets the software’s system requirements
- Basic knowledge of design concepts (helpful but not required)
Step-by-Step Instructions
Follow these simple steps to create, edit, and save your first design in AutoCAD while learning the core workflow used across Autodesk products.
Step 1: Create an Autodesk Account
Visit Autodesk’s website and create an account using your email address.
After registration, choose the subscription that fits your needs:
- Individual
- Business
- Educational
Your Autodesk account provides access to software downloads, cloud services, licensing, and project management tools.
Step 2: Download and Install AutoCAD
Download AutoCAD from your Autodesk account and complete the installation.
During setup:
- Sign in with your Autodesk account.
- Activate your license.
- Install any recommended updates.
Keeping the software updated ensures access to the latest features, security improvements, and compatibility fixes.
Step 3: Set Up Your Workspace
Launch AutoCAD and configure the interface before starting your project.
You can customize:
- Workspace layout
- Toolbars
- Ribbon panels
- Drawing units
- Grid and snap settings
A well-organized workspace makes navigation easier and improves efficiency during design work.
Step 4: Create or Open a Drawing
Start a new drawing by selecting an appropriate template or open an existing DWG file.
Templates help maintain:
- Standard units
- Dimension styles
- Annotation settings
- Drawing conventions
Using the correct template keeps projects consistent from the beginning.
Step 5: Draw Your Design
Use AutoCAD’s drawing tools to build your project.
Common tools include:
- Line
- Circle
- Rectangle
- Polyline
- Arc
- Dimension
These tools form the foundation of technical drawings for architectural, mechanical, and engineering projects.
Step 6: Organize Your Drawing with Layers
Separate different parts of your design into individual layers.
For example:
- Walls
- Doors
- Furniture
- Electrical systems
- Plumbing
- Dimensions
- Text annotations
Layer management improves visibility, editing, and printing without changing the underlying drawing.
Step 7: Insert Blocks and Libraries
Instead of creating common objects repeatedly, insert reusable blocks from built-in or custom libraries.
Examples include:
- Doors
- Windows
- Furniture
- Electrical symbols
- Mechanical components
- Fixtures
Using blocks saves time while maintaining consistency throughout your drawings.
Step 8: Collaborate Using Autodesk Cloud
Share your project with colleagues, clients, or project stakeholders using Autodesk’s cloud collaboration tools.
You can:
- Share drawing files securely.
- Review design changes.
- Collect feedback.
- Coordinate project updates.
- Access files from multiple devices.
Cloud collaboration simplifies teamwork without relying on multiple file versions.
Step 9: Export or Print Your Design
After reviewing your drawing, export it in the format required for your project.
Common output formats include:
- DWG
- DWF
- Image files
You can also configure print layouts for professional-quality plotting.
Step 10: Explore Other Autodesk Applications
As your projects become more advanced, consider expanding your workflow with other Autodesk products.
Examples include:
- Revit for Building Information Modeling (BIM)
- Fusion for product design and manufacturing
- Maya for animation and visual effects
- Civil 3D for infrastructure projects
Choosing the right application depends on your industry and project requirements.
Tips
Get comfortable with the interface, use keyboard shortcuts, save your work frequently, and practice with small projects to build confidence and improve your AutoCAD skills faster.
- Learn keyboard shortcuts to speed up common drawing commands.
- Start with simple practice projects before tackling complex designs.
- Zoom and pan frequently for greater drawing accuracy.
- Save custom workspace settings to avoid repeated setup.
- Use object snaps for precise placement and alignment.
Common Mistakes
- Drawing without selecting the correct units at the beginning.
- Placing every object on the same layer, making edits difficult.
- Ignoring dimension accuracy before sharing designs.
- Exploding reusable blocks unnecessarily, creating inconsistent drawings.
- Forgetting to review layouts before printing or exporting.
Troubleshooting
AutoCAD runs slowly
Close unnecessary applications, update graphics drivers, and verify that your computer meets Autodesk’s recommended system requirements
Commands aren’t working correctly
Reset the workspace or check whether command aliases have been modified.
Layers disappear
Ensure layers are turned on, thawed, and unlocked in the Layer Manager.
Unable to open a DWG file
Verify that the file isn’t corrupted and that your AutoCAD version supports its format.
Exported PDF doesn’t look correct
Review your plot settings, page setup, scale, and line weights before exporting again.
Best Practices
- Create reusable templates for projects with similar requirements.
- Maintain a consistent layer naming system across all drawings.
- Back up important files using Autodesk’s cloud storage or another secure solution.
- Review drawings with stakeholders before finalizing deliverables.
- Keep software and project libraries updated to ensure compatibility and efficiency.
Frequently Asked Questions
Is AutoCAD suitable for beginners?
Yes. While AutoCAD includes many advanced features, beginners can quickly learn essential drawing tools through practice and tutorials.
What’s the difference between AutoCAD and Revit?
AutoCAD focuses on 2D drafting and general CAD design, while Revit is designed for Building Information Modeling (BIM), allowing users to create intelligent building models with detailed project data.
Can I use Autodesk software for 3D modeling?
Yes. Applications such as AutoCAD, Fusion, Maya, and 3ds Max support various types of 3D modeling depending on the project.
Does Autodesk offer cloud collaboration?
Yes. Autodesk provides cloud-based collaboration tools that allow teams to share files, review changes, and coordinate projects remotely.
Which Autodesk product should I choose?
It depends on your work. AutoCAD is ideal for drafting, Revit is best for BIM projects, Fusion supports product design and manufacturing, while Maya specializes in animation and visual effects.
Conclusion
Autodesk provides a comprehensive ecosystem of design and engineering software that supports projects across architecture, manufacturing, construction, and creative industries. Starting with AutoCAD helps you build a strong foundation in drafting and design, while features such as layers, reusable blocks, and cloud collaboration improve project organization and teamwork. As your experience grows, you can expand into other Autodesk applications tailored to your specific field.
Ready to Start Designing with Autodesk?
Start using Autodesk today to create precise technical drawings, streamline design workflows, and collaborate more effectively with industry-leading CAD and 3D modeling software.