Discover NitroPack: Can It Really Make Your WordPress Site Lightning Fast?
Imagine your WordPress website loading in just a few seconds, scoring 90+ on Google PageSpeed Insights, and passing Core Web Vitals without spending hours tweaking caching plugins or writing complex code. Sounds too good to be true, right?
That’s exactly what NitroPack promises.
By TechScaleMedia Editorial · Updated July 2026 · 11 min read
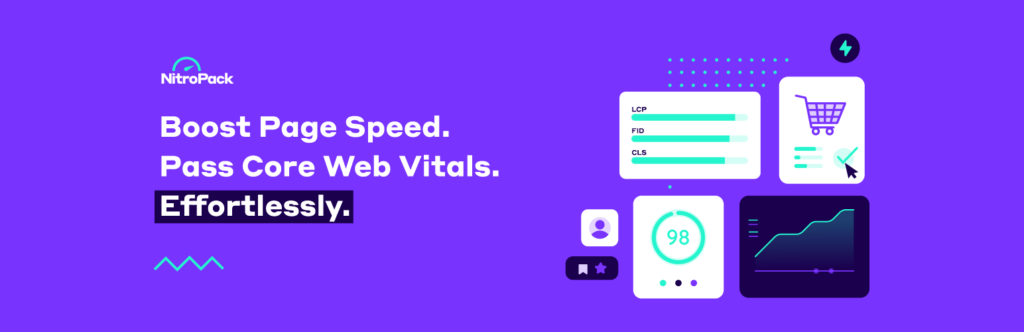
As an all-in-one website performance optimization platform, NitroPack combines advanced caching, image optimization, code optimization, a built-in global CDN, and lazy loading into a single solution designed to dramatically improve your website’s speed. Instead of juggling multiple plugins, you can optimize nearly every aspect of your site’s performance from one dashboard.
Whether you’re a blogger, business owner, WooCommerce store manager, developer, or digital agency, NitroPack makes it easy to improve your website’s speed, boost Core Web Vitals, and enhance your SEO performance.
Ready to optimize your WordPress website? Follow this step-by-step guide to learn how to use NitroPack and unlock faster loading times with just a few clicks.
Quick Answer
Using NitroPack is simple. Create a NitroPack account, install the WordPress plugin, connect your website, choose an optimization mode, enable caching and image optimization, configure the built-in CDN, and test your website’s performance. Once configured, NitroPack automatically optimizes your website to improve loading speed, Core Web Vitals, and Google PageSpeed Insights scores.
Prerequisites
Before you get started, make sure you have:
- A WordPress website
- Administrator access to your WordPress dashboard
- A NitroPack account
- A stable internet connection
- A recent website backup (recommended)
- Other caching plugins disabled to avoid conflicts
Create a Workflow Manually (Recommended for Beginners)
If you’re new to website optimization, optimizing your first website with NitroPack is the best way to understand how the platform actually works.
Step 1: Create Your NitroPack Account
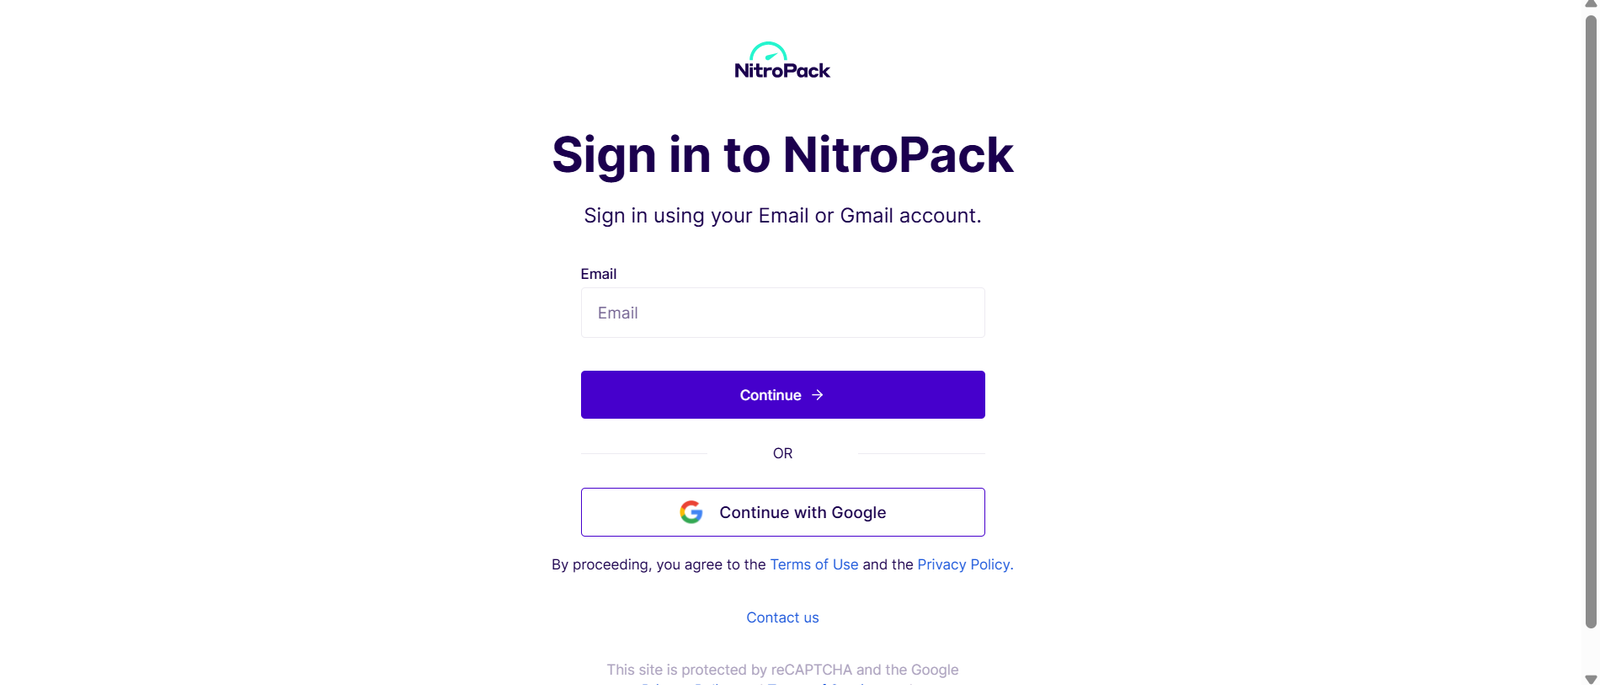
Visit the NitroPack website and click Get Started or Sign Up.
Create your account using your email address, then verify your email if required.
Once you’ve signed in, you’ll be taken to the NitroPack dashboard, where you can manage all your connected websites and optimization settings.
Step 2: Install the NitroPack WordPress Plugin
Next, install the NitroPack plugin on your WordPress website.
From your WordPress dashboard:
Plugins → Add New
Search for NitroPack, then click:
- Install Now
- Activate
After activation, NitroPack will appear in your WordPress admin menu, ready to connect with your account.
Step 3: Connect Your Website to NitroPack
Open the NitroPack settings page inside WordPress.
Click Connect, then sign in using your NitroPack account credentials.
After authorization, NitroPack automatically links your website to its cloud optimization platform.
Once connected, your website is ready to receive automatic performance optimizations.
Step 4: Choose an Optimization Mode
NitroPack offers several optimization levels depending on how aggressively you want to optimize your website.
Common optimization modes include:
- Standard
- Medium
- Strong
- Ludicrous
If you’re new to NitroPack, Strong is a great starting point because it delivers excellent performance while maintaining compatibility with most WordPress themes and plugins.
You can always change the optimization level later if needed.
Step 5: Enable Automatic Caching
Caching is one of the biggest factors in improving website speed.
NitroPack automatically generates optimized cached versions of your pages, reducing the time it takes for visitors to load your website.
With automatic caching enabled, NitroPack can:
- Reduce server response time
- Speed up page loading
- Handle traffic spikes more efficiently
- Improve user experience
- Help boost Core Web Vitals scores
Because caching is managed automatically, you won’t need to manually clear or rebuild your cache every time you make changes to your website.
Step 6: Optimize Your Website Images
Images are one of the biggest contributors to slow-loading websites. Large, uncompressed images can significantly increase page load times, especially on mobile devices.
NitroPack automatically optimizes your images to improve performance without noticeably reducing quality.
It can:
- Compress images automatically
- Convert images to modern formats like WebP and AVIF
- Resize oversized images
- Deliver responsive images for different screen sizes
- Reduce overall page size
These optimizations help your pages load faster while maintaining a great visual experience for visitors.
Step 7: Enable Code Optimization
After optimizing your images, it’s time to improve your website’s code.
NitroPack automatically optimizes HTML, CSS, and JavaScript files to reduce unnecessary code and improve rendering speed.
Some of the available optimizations include:
- HTML minification
- CSS minification
- JavaScript minification
- Remove unused CSS
- Delay JavaScript execution
- Font optimization
- Resource preloading
These features reduce render-blocking resources, helping your pages display much faster for both desktop and mobile users.
Step 8: Activate the Built-in Global CDN
A Content Delivery Network (CDN) helps deliver your website’s files from servers located closer to your visitors.
NitroPack includes a built-in global CDN, so you don’t need to purchase or configure a separate CDN service.
Once enabled, the CDN helps:
- Deliver static files faster
- Reduce server load
- Improve global website performance
- Decrease page loading times
- Enhance visitor experience across different countries
Because files are served from the nearest available server, visitors experience faster load times regardless of their location.
Step 9: Test Your Website Performance
Once NitroPack finishes optimizing your website, it’s time to measure the results.
Use popular performance testing tools such as:
- Google PageSpeed Insights
- GTmetrix
- Lighthouse
- WebPageTest
Compare your performance before and after enabling NitroPack.
Pay close attention to metrics like:
- Performance Score
- Largest Contentful Paint (LCP)
- Interaction to Next Paint (INP)
- Cumulative Layout Shift (CLS)
- Time to First Byte (TTFB)
Many websites see significant improvements after NitroPack completes its optimization process.
Step 10: Map Your Data
Website optimization isn’t a one-time task.
As you install new plugins, update your theme, or publish content, it’s important to monitor your site’s performance regularly.
NitroPack makes this easy by allowing you to:
- Clear or warm the cache
- Change optimization modes
- Exclude specific files from optimization
- Monitor optimization status
- Adjust settings if compatibility issues arise
Regular monitoring ensures your website continues to perform at its best.
You’re Ready to Speed Up Your WordPress Website with NitroPack.
Tips to Get the Most Out of NitroPack
Follow these best practices to maximize your website’s performance:
- Choose the Strong optimization mode for the best balance between speed and compatibility.
- Use high-quality but properly sized images before uploading them.
- Keep your WordPress core, themes, and plugins up to date.
- Remove unused plugins and themes to reduce unnecessary code.
- Test your website after installing new plugins.
- Monitor your Core Web Vitals regularly using Google PageSpeed Insights.
- Clear the cache after making major design or content changes.
Pro Tip: If you’re migrating from another caching plugin, disable it before enabling NitroPack. Running multiple caching or optimization plugins together can cause conflicts and reduce your website’s performance.
Common NitroPack Mistakes to Avoid
Avoid these common mistakes when using NitroPack:
- Running multiple caching plugins simultaneously.
- Uploading large, unoptimized images.
- Ignoring performance testing after making website updates.
- Choosing the most aggressive optimization mode without testing compatibility.
- Forgetting to clear the cache after major website changes.
- Ignoring Core Web Vitals reports.
Taking a few minutes to review your settings can prevent unnecessary issues and help maintain consistent performance.
Best Practices for Building Reliable Automations
To get the best results from NitroPack:
- Use a lightweight, performance-optimized WordPress theme.
- Avoid installing multiple performance plugins with overlapping features.
- Optimize your images before uploading them.
- Keep your website updated and secure.
- Review PageSpeed Insights reports regularly.
- Test performance after installing new themes or plugins.
- Periodically audit your website for unused plugins and unnecessary scripts.
Following these practices will help maintain fast loading times and a better user experience over the long term.
Troubleshooting Common Pabbly Connect Issues
If your website optimization isn’t delivering the expected results, these quick troubleshooting tips can help.
Website Layout Looks Broken
Try switching to a lower optimization mode or exclude the affected CSS or JavaScript files from optimization.
Performance Score Doesn’t Improve
Clear the NitroPack cache, allow the optimization process to complete, and retest your website after a few minutes.
Images Aren’t Loading Correctly
Check your image optimization settings and ensure there are no conflicts with other image optimization plugins.
CSS or JavaScript Issues
If certain scripts stop working, exclude them from optimization within the NitroPack settings.
Slow WordPress Dashboard
NitroPack optimizes your website’s front end. A slow admin dashboard is usually caused by hosting limitations, heavy plugins, or database performance issues rather than NitroPack itself.
Frequently Asked Questions
What is NitroPack?
NitroPack is an all-in-one website performance optimization platform that combines caching, image optimization, code optimization, lazy loading, and a built-in CDN to improve WordPress website speed.
Is NitroPack free?
Yes. NitroPack offers a free plan with basic optimization features. Premium plans provide additional resources, advanced optimizations, and support for higher-traffic websites.
Can NitroPack improve Google PageSpeed Insights scores?
Yes. NitroPack is designed to optimize the factors that influence Google PageSpeed Insights and Core Web Vitals. While results vary depending on your website, many users experience noticeable improvements after proper configuration.
Does NitroPack work with WooCommerce?
Yes. NitroPack is compatible with WooCommerce and includes smart caching features designed to work with dynamic eCommerce websites.
Do I need coding knowledge to use NitroPack?
No. NitroPack is beginner-friendly and automates most performance optimizations, making it suitable for users with little or no technical experience.
Can NitroPack replace my caching plugin?
In most cases, yes. NitroPack combines advanced caching, image optimization, code optimization, lazy loading, and CDN functionality into a single platform, eliminating the need for multiple performance plugins.
Conclusion
NitroPack makes WordPress performance optimization simple by combining multiple speed-enhancing technologies into one easy-to-use platform. From advanced caching and image compression to code optimization and a built-in global CDN, it automates many of the tasks required to improve website speed and Core Web Vitals.
Whether you’re running a personal blog, a business website, or a WooCommerce store, NitroPack can help you deliver a faster browsing experience, improve search visibility, and create a better experience for your visitors—all without the complexity of managing several optimization plugins.
Ready to Speed Up Your WordPress Website?
If you’re looking for an easier way to improve your website’s loading speed and Core Web Vitals, NitroPack is an excellent place to start. Install the plugin, connect your website, and let its automated optimization engine handle the heavy lifting.
As your website grows, explore advanced features like optimization modes, smart cache management, image optimization, and the built-in global CDN to keep your WordPress site fast, reliable, and ready for your visitors.