How to Use Rocketbook: A Beginner’s Step-by-Step Guide
Taking handwritten notes is a great way to capture ideas, but managing paper notebooks can quickly become overwhelming. Important notes can get misplaced, sharing handwritten pages is inconvenient, and stacks of notebooks take up valuable space. Rocketbook solves these challenges by combining the familiarity of handwriting with the convenience of digital storage. You can write using a reusable notebook, scan your notes with the Rocketbook app, and instantly send them to your favorite cloud storage service.
By TechScaleMedia Editorial · Updated July 2026 · 11 min read
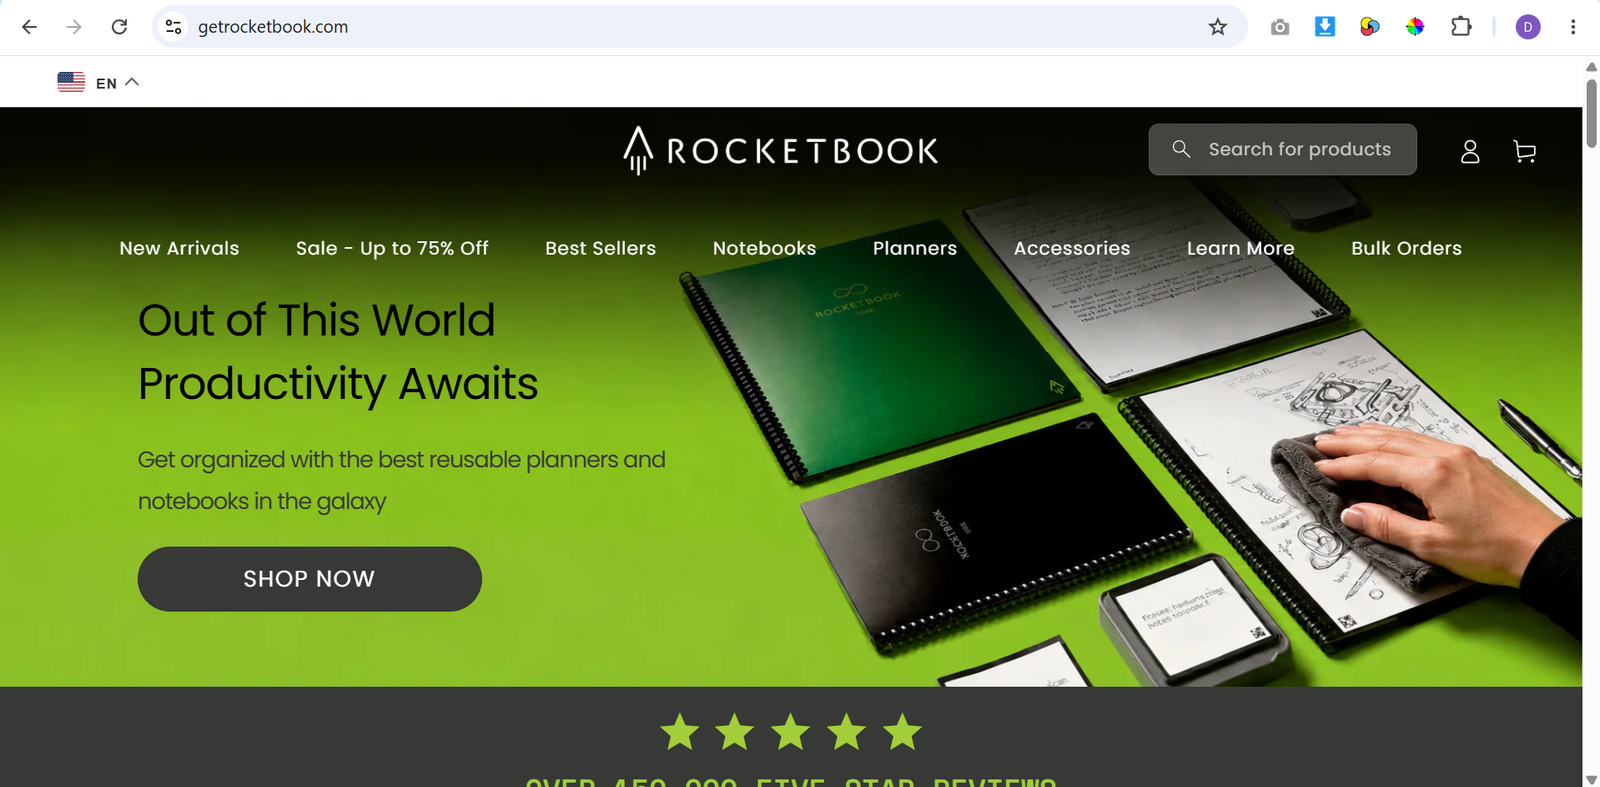
In this guide, you’ll learn how to use Rocketbook step by step, from setting up the app and writing your first notes to scanning, organizing, and reusing your notebook pages.
How Do You Use Rocketbook?
Quick Answer
Using Rocketbook is simple:
- Use a Pilot FriXion pen.
- Download the Rocketbook app.
- Connect your preferred cloud services.
- Write your notes.
- Mark a destination icon.
- Scan the page.
- Enable OCR for searchable notes.
- Convert handwriting to text.
- Wipe the page clean.
- Reuse the notebook.
Prerequisites
Before getting started, you’ll need:
- A Rocketbook notebook
- A Pilot FriXion pen or highlighter
- The Rocketbook mobile app
- A smartphone or tablet
- A cloud storage account (optional)
- The included microfiber cleaning cloth
Create a Workflow Manually (Recommended for Beginners)
If you’re new to smart notebooks, creating your first digital notebook in Rocketbook is the best way to understand how the platform actually works.
Step 1: Use the Correct Pen
Rocketbook notebooks are designed to work with Pilot FriXion pens and highlighters.
These erasable pens allow you to write normally and remove the ink later using a damp microfiber cloth.
Using other pens may permanently mark the pages.
Step 2: Install the Rocketbook App
Download the Rocketbook app on your Android or iPhone.
After installation:
- Create an account.
- Allow camera permissions.
- Complete the initial setup.
The app lets you scan, organize, and send notes to cloud storage.
Step 3: Connect Your Cloud Services
Rocketbook supports several popular cloud platforms.
You can connect services such as:
- Google Drive
- Dropbox
- OneDrive
- Evernote
- OneNote
Assign each service to one of the symbols printed at the bottom of every Rocketbook page.
Step 4: Write Your Notes
Start writing as you would in a traditional notebook.
You can create:
- Meeting notes
- Class notes
- To-do lists
- Brainstorming ideas
- Sketches
- Project plans
Allow the ink to dry for a few seconds before touching the page to prevent smudging.
Step 5: Mark a Destination Icon
Before scanning your notes, mark the icon that corresponds to your preferred cloud destination.
For example:
- Google Drive
- Dropbox
- Evernote
The Rocketbook app automatically recognizes the selected icon during scanning.
Step 6: Scan Your Notes
Open the Rocketbook app and tap Scan.
Position the notebook page within the camera frame.
The app automatically:
- Detects page borders
- Crops the image
- Enhances readability
- Uploads the file to your selected destination
Scanning typically takes only a few seconds.
Step 7: Enable OCR
Rocketbook includes Optical Character Recognition (OCR) to make handwritten notes searchable.
When OCR is enabled, the app converts your handwriting into searchable text within supported cloud services, making it easier to find notes later.
Step 8: Convert Handwriting to Text
For notes you want to edit digitally, use Rocketbook’s transcription feature.
The app can convert handwritten content into editable text, which you can copy into emails, documents, or note-taking applications.
Review the converted text for accuracy, especially if your handwriting is difficult to read.
Step 9: Erase the Page
Once you’ve safely stored your notes, erase the page using the included microfiber cloth.
Simply:
- Dampen the cloth with water.
- Wipe the page gently.
- Allow it to dry completely.
Your notebook is now ready to use again.
Step 10: Reuse Your Notebook
After cleaning the pages, you can continue writing and scanning repeatedly.
With proper care, Rocketbook notebooks are designed for hundreds of reuse cycles, making them an eco-friendly alternative to traditional paper notebooks.
Ready to simplify your note-taking?
Start using Rocketbook to capture, organize, and store your handwritten notes digitally while reducing paper waste.
How Can You Use Rocketbook More Efficiently?
Tips
- Always use Pilot FriXion pens.
- Wait a few seconds for the ink to dry.
- Keep the camera lens clean for better scans.
- Organize notes using destination icons.
- Enable OCR to create searchable documents.
- Clean pages gently with the microfiber cloth.
What Can Reduce Your Rocketbook Experience?
Common Mistakes
- Using regular ink pens.
- Scanning pages before marking a destination icon.
- Smudging fresh ink.
- Forgetting to back up important notes.
- Using excessive water when cleaning pages.
- Writing with too much pressure.
How Can You Get the Most Value from Rocketbook?
Best Practices
- Connect all frequently used cloud services.
- Review scanned notes before erasing pages.
- Keep your notebook clean and dry.
- Write neatly for better OCR accuracy.
- Organize files into folders within your cloud storage.
- Back up important notes regularly.
How Can You Troubleshoot Rocketbook Effectively?
Troubleshooting
Notes won’t erase
Make sure you’re using a Pilot FriXion pen and a slightly damp microfiber cloth.
App isn’t scanning correctly
Improve lighting, hold your phone steady, and ensure the entire page is visible.
OCR isn’t recognizing handwriting
Write more clearly and enable OCR within the Rocketbook app settings.
Notes aren’t uploading
Check your internet connection and verify that your cloud account is connected correctly.
Scans appear blurry
Clean your phone’s camera lens and scan in a well-lit environment.
Frequently Asked Questions
What is Rocketbook used for?
Rocketbook is a reusable smart notebook that lets you write by hand, scan notes, store them digitally, and erase the pages for repeated use.
Do I need a special pen?
Yes. Rocketbook requires Pilot FriXion pens or highlighters because their ink can be erased from the notebook pages.
Can Rocketbook upload notes to Google Drive?
Yes. The Rocketbook app supports Google Drive along with several other popular cloud storage services.
Does Rocketbook convert handwriting to text?
Yes. The app includes OCR and transcription features that can convert handwritten notes into searchable and editable text.
How do I erase Rocketbook pages?
Use the included microfiber cloth with a small amount of water to wipe the pages clean after your notes have been saved.
Conclusion
Rocketbook combines the convenience of handwritten notes with the flexibility of digital organization. With reusable pages, cloud integration, OCR, and quick scanning through the Rocketbook app, it’s an excellent solution for students, professionals, and anyone looking to reduce paper clutter. By following the steps in this guide, you can create, organize, and reuse your notes efficiently while keeping everything securely stored in the cloud.
Build a stronger foundation for digital note-taking and organized productivity with Rocketbook.
Start using Rocketbook today to digitize your handwritten notes, organize them in the cloud, and enjoy an eco-friendly note-taking system you can reuse again and again.