

How to Use Lindy AI: A Beginner's Step-by-Step Guide
Many businesses spend hours every week handling repetitive tasks like answering emails, scheduling meetings, summarizing conversations, and updating customer records. AI assistants can automate these tasks, helping individuals and teams save time while improving productivity.
Lindy AI is a no-code platform that lets you build AI assistants (called Lindies) to automate business workflows. These AI assistants can connect with your favorite apps, respond to emails, schedule meetings, summarize documents, and perform many other tasks automatically.
Whether you’re a freelancer, marketer, salesperson, recruiter, or business owner, Lindy AI helps you automate routine work without writing code.
This guide walks you through creating and using your first AI assistant in Lindy AI. Ready to build AI-powered workflows and automate your daily tasks?
How do you use Lindy AI?
A Quick Answer
To use Lindy AI:
- 1. Create a Lindy AI account.
- 2. Choose a pre-built AI assistant or create a new one.
- 3. Connect your apps.
- 4. Configure triggers and actions.
- 5. Customize the AI assistant.
- 6. Test the wokflow.
- 7. Activate your AI assistant.
Once enabled, Lindy AI automatically performs tasks based on the workflow you’ve created.
Prerequisites
Before you begin, make sure you have:
- A Lindy AI account
- A stable internet connection
- Accounts for apps you want to connect (Gmail, Google Calendar, Slack, Notion, HubSpot, Zoom, etc.)
- API keys or permissions if required
- A clear understanding of the task you want to automate
What You'll Need Before Using Lindy AI
Before creating your first Lindy AI automation, make sure you have:
- Automate repetitive tasks with AI agents
- Improve team collaboration and productivity
- Simplify business workflows without coding
- Securely connect and manage business data
- Perfect for sales, support, and operations teams
Create a Workflow Manually (Recommended for Beginners)
If you’re new to AI automation, manually building your first workflow is the best way to understand how Lindy AI works and automate tasks with confidence.
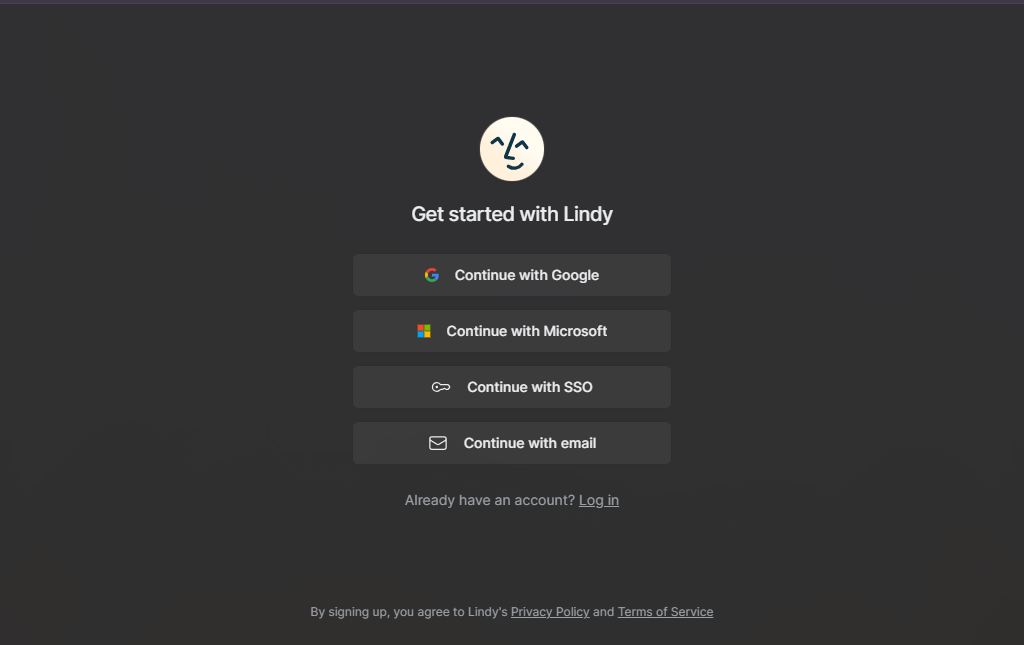
Create a Lindy AI Account
Visit the Lindy AI website.
Click Sign Up.
Register using:
- Google account
- Microsoft account
- Email address
Verify your email if prompted.
Explore the AI Assistant Library
After logging in, you’ll see a collection of pre-built AI assistants (Lindies).
Popular examples include:
- Email Assistant
- Meeting Scheduler
- Customer Support Agent
- Sales Follow-up Assistant
- Meeting Notes Generator
- Document Summarizer
You can either:
- Use a template
- Build a custom AI assistant
Click Create Lindy.
Give your assistant a descriptive name.
Examples:
- Customer Support AI
- Meeting Organizer
- Lead Qualification Assistant
- AI Research Assistant
Select the workflow template or start from scratch.
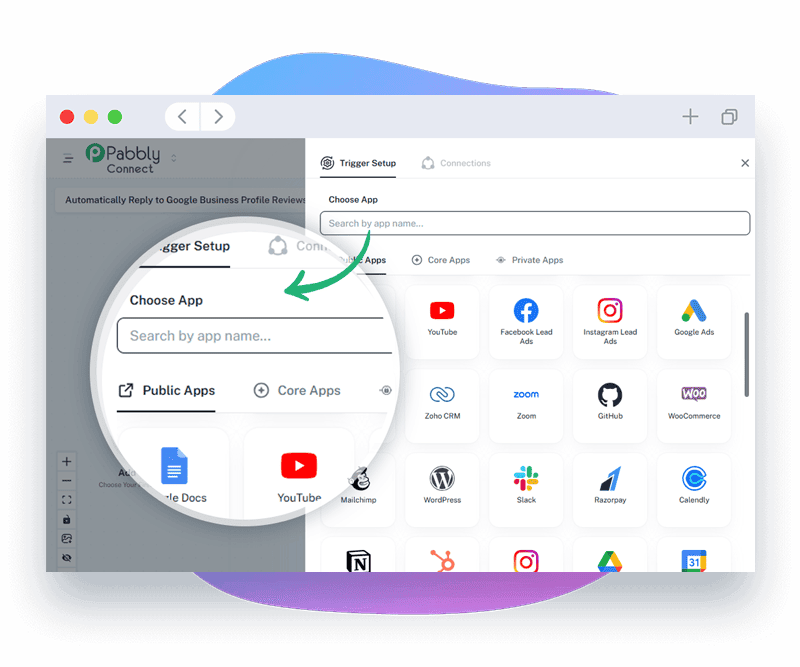
Authorize the apps your AI assistant will use.
Common integrations include:
- Gmail
- Google Calendar
- Slack
- Notion
- Zoom
- HubSpot
- Salesforce
- Google Drive
Grant all required permissions.
Choose what starts your AI assistant.
Examples include:
- New email arrives
- Calendar event created
- Slack message received
- Form submitted
- Scheduled time
- File uploaded
The trigger determines when your AI assistant runs.
Now tell your assistant what it should do.
Examples:
- Reply to emails
- Summarize meetings
- Schedule appointments
- Draft documents
- Extract information from files
- Answer customer questions
- Create CRM records
- Send Slack notifications
You can chain multiple actions together to build powerful automations.
Provide instructions that guide your AI assistant.
Example:
Respond professionally to customer emails, summarize the request in one paragraph, and notify the sales team if the customer mentions pricing.
The more specific your instructions, the better the AI performs.
Click Test.
Verify that:
- The trigger activates correctly.
- AI responses are accurate.
- Connected apps receive the expected data.
- Every workflow step functions properly.
Make adjustments if needed.
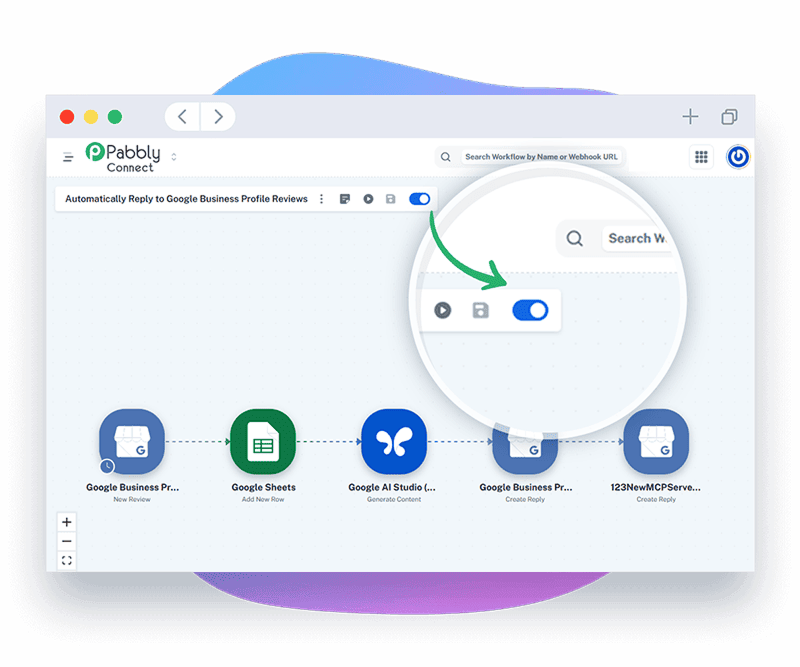
Activate Your AI Assistant
Once testing is successful:
- Click Publish
- Turn your AI assistant ON
Your Lindy AI assistant will now automatically perform the configured tasks whenever the trigger occurs.
What are the best tips for using Lindy AI effectively?
These expert Lindy AI tips will help you build smarter, faster, and more reliable AI automations:
- Start with a pre-built template before creating custom assistants.
- Write clear AI instructions for better responses.
- Test workflows using sample data.
- Keep prompts concise and specific.
- Organize assistants by department or project.
- Review workflow history regularly.
What are the most common mistakes to avoid when using Lindy AI?
Although Lindy AI is beginner-friendly, small configuration mistakes can prevent your AI automations from working correctly. Avoid these common errors to build reliable workflows from the start.
Unclear prompts can cause the AI to generate inaccurate or inconsistent results.
Testing the workflow helps identify and fix issues before it runs in production.
An inactive assistant cannot respond to requests or execute automated tasks.
Linking the wrong app can cause workflows to use incorrect data or fail entirely.
Overlooking failure alerts can allow automation issues to persist unnoticed.
Starting with simple workflows makes them easier to build, manage, and troubleshoot.
How do you troubleshoot common Lindy AI issues?
If your Lindy AI automation isn’t working as expected, these quick troubleshooting tips can help.
Check whether:
- The workflow is enabled.
- The trigger has occurred.
- Connected apps are properly authorized.
Try:
- Reconnecting the application.
- Refreshing expired credentials.
- Updating API permissions.
Verify:
- Internet connectivity
- Workflow configuration
- Usage limits
- Third-party service availability
Review:
- Your instructions
- Input data
- Workflow logic
- Connected AI model settings
What are the best practices for using Lindy AI?
Once your Lindy AI workflows are running successfully, following these best practices will keep your automations organized, scalable, and easy to maintain.
Begin with simple workflows.
Write detailed yet concise AI instructions.
Monitor automation history regularly.
Update workflows as your business processes change.
Use descriptive names for each AI assistant.
Test every workflow before activation.
Secure all connected accounts.
Frequently Asked Questions
1. Is Lindy AI beginner-friendly?
Yes. Lindy AI is designed for users without programming experience and offers an intuitive visual workflow builder.
2. Does Lindy AI use artificial intelligence?
Yes. Lindy AI uses advanced AI models to automate tasks such as email writing, summarization, scheduling, customer support, and document processing.
3. Can I automate emails with Lindy AI?
Yes. Lindy AI can draft, categorize, summarize, and respond to emails based on your workflow configuration.
4. Which apps integrate with Lindy AI?
Lindy AI supports many popular business applications, including Gmail, Google Calendar, Slack, Zoom, HubSpot, Salesforce, Notion, Google Drive, and more.
5. Can businesses use Lindy AI?
Yes. Businesses use Lindy AI for customer support, sales automation, recruiting, operations, project management, and internal communications.
6. Do I need coding skills?
No. Lindy AI is a no-code platform that enables users to build AI assistants using a visual interface.
Conclusion
Lindy AI simplifies business automation by allowing anyone to build intelligent AI assistants without writing code. From managing emails and scheduling meetings to handling customer inquiries and organizing information, Lindy AI helps eliminate repetitive work and improve productivity. Start with a pre-built template, customize it to your needs, and gradually create more advanced AI assistants as your experience grows.