How to Use Buddy: A Complete Beginner’s Guide to CI/CD Automation
Manually building, testing, and deploying applications can slow down software development and increase the risk of human error. As projects grow, repetitive tasks like running tests, building applications, deploying updates, and managing multiple environments become difficult to handle consistently. These manual processes not only delay releases but can also lead to deployment failures, downtime, and inconsistent software quality.
By TechScaleMedia Editorial · Updated July 2026 · 11 min read
That’s where Buddy comes in. Buddy is a visual CI/CD (Continuous Integration and Continuous Deployment) platform that automates your entire software delivery pipeline. Instead of writing complex deployment scripts, you can create automated workflows using a drag-and-drop interface with pre-built actions. Buddy integrates with popular development tools like GitHub, GitLab, Bitbucket, Docker, AWS, Azure, DigitalOcean, Kubernetes, and many others, allowing development teams to build, test, and deploy applications faster while reducing manual work.
Whether you’re a developer, DevOps engineer, freelancer, or software team, Buddy helps you automate repetitive tasks, accelerate deployments, and deliver reliable software with confidence.
Ready to automate your development workflow? Follow the step-by-step guide below to learn how to use Buddy and build your first CI/CD pipeline.
Quick Answer
Using Buddy involves creating an account, connecting your Git repository, creating a project, building a CI/CD pipeline, adding automated build, test, and deployment actions, configuring deployment environments, and running your pipeline whenever code changes occur. Once configured, Buddy automatically builds, tests, and deploys your applications, helping you release software faster with fewer errors.
Prerequisites
Before getting started, you’ll need:
- A Buddy account
- A GitHub, GitLab, or Bitbucket repository
- A software project to deploy
- Basic understanding of Git
- Access to your hosting or cloud platform (optional)
- A stable internet connection
Create a Workflow Manually (Recommended for Beginners)
If you’re new to CI/CD, building your first pipeline manually is the best way to understand how Buddy actually works.
Step 1: Create Your Buddy Account
Visit the Buddy website and click Sign Up.
Create your account using your email address or sign in with GitHub, GitLab, or Bitbucket.
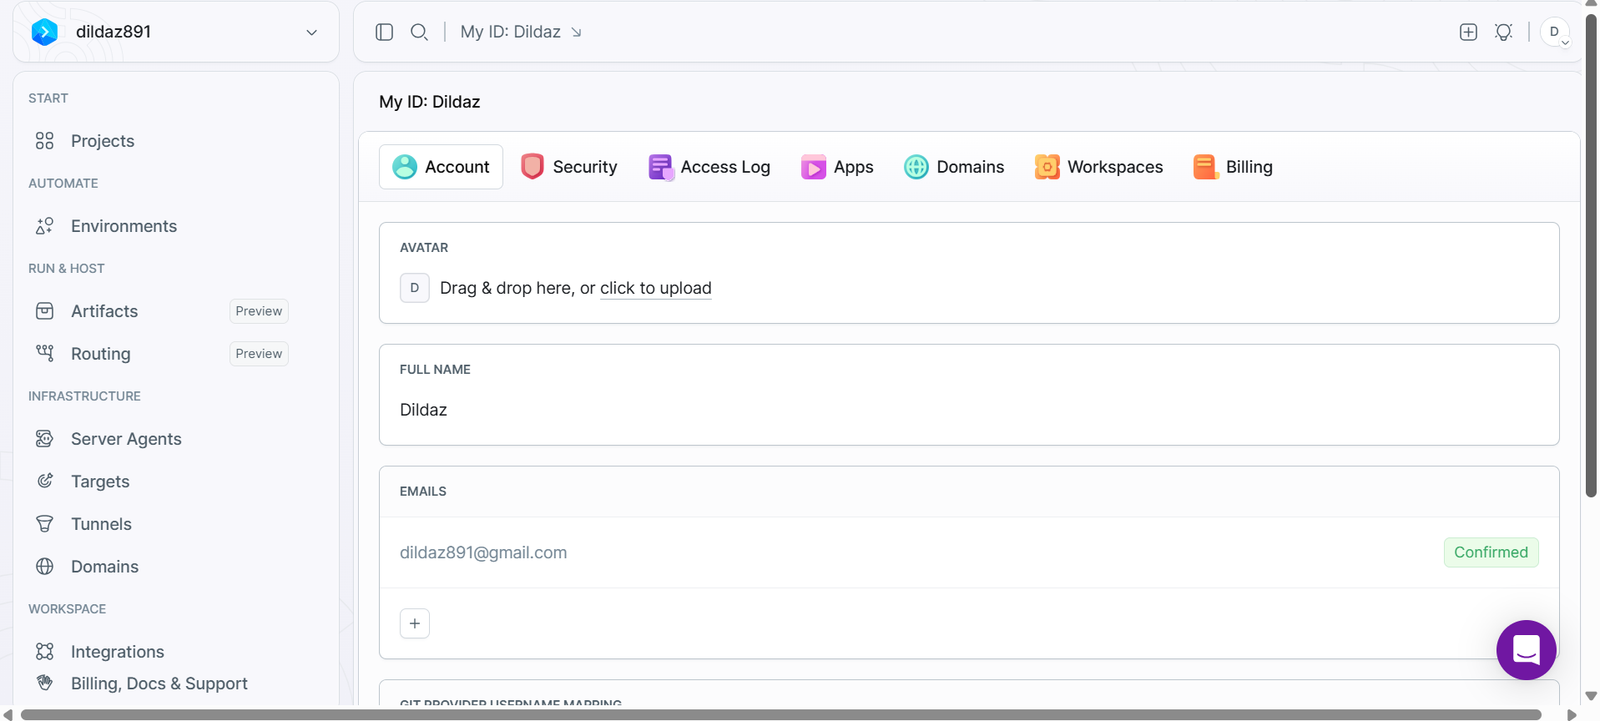
After logging in, you’ll be taken to the Buddy dashboard where you can create and manage your CI/CD projects.
Step 2: Connect Your Git Repository
Buddy works directly with your source code repository.
Click Create New Project and connect your preferred Git provider.
Buddy supports repositories hosted on:
- GitHub
- GitLab
- Bitbucket
After authorization, select the repository you want to automate.
Buddy will automatically import your project and prepare it for pipeline creation.
Step 3: Create Your First Pipeline
A pipeline is a sequence of automated actions that run whenever specific events occur, such as a code commit or pull request.
Click add pipeline and choose:
- Pipeline name
- Target branch
- Trigger event
- Execution mode
For example, you can configure the pipeline to run automatically every time new code is pushed to the main branch.
Step 4: Add Build Actions
The first stage of most CI/CD pipelines is building your application.
Buddy provides ready-made actions for popular development environments.
Common build actions include:
- Install dependencies
- Build application
- Compile source code
- Create Docker images
- Install Node.js packages
- Run Composer or Maven
Simply drag the required actions into your pipeline and configure them according to your project.
Step 5: Configure Automated Testing
Automated testing helps detect bugs before deployment.
Add testing actions such as:
- Unit tests
- Integration tests
- Code quality checks
- Security scanning
- Linting
Buddy automatically runs these tests whenever the pipeline is triggered, helping maintain code quality.
Step 6: Configure Deployment
After successful testing, Buddy can automatically deploy your application.
It supports deployments to many platforms, including:
- AWS
- Microsoft Azure
- Google Cloud
- DigitalOcean
- Docker
- Kubernetes
- FTP/SFTP servers
- VPS
- SSH servers
Enter your deployment credentials, select the destination server, and configure deployment settings.
Buddy will automatically deploy your application after all previous pipeline steps complete successfully.
Step 7: Configure Pipeline Triggers
Choose when your pipeline should run.
Common trigger options include:
- Code push
- Pull request
- Manual execution
- Scheduled deployment
- Git tag creation
Automated triggers ensure every code change follows the same reliable deployment process.
Step 8: Monitor Pipeline Execution
Once your pipeline is active, Buddy displays detailed execution logs for every build.
You can monitor:
- Build status
- Test results
- Deployment progress
- Execution time
- Error messages
- Deployment history
If a pipeline fails, Buddy provides detailed logs to help you quickly identify and fix the issue.
Step 9: Manage Multiple Environments
Most development teams deploy applications to multiple environments before production.
Buddy allows you to create separate pipelines for:
- Development
- Testing
- Staging
- Production
This ensures every release is thoroughly tested before reaching your users.
Step 10: Review Deployment History
After deployments complete, Buddy maintains a complete deployment history.
You can review:
- Successful deployments
- Failed deployments
- Deployment timestamps
- Pipeline execution history
- Build logs
This makes troubleshooting and auditing deployments much easier.
You’re Ready to Automate Your CI/CD Workflow with Buddy?
Build your first CI/CD pipeline in minutes and let Buddy automate your build, test, and deployment process.
Tips to Get the Most Out of Buddy
Get the best results from Buddy by following these simple tips:
- Automate every build, test, and deployment task.
- Use separate pipelines for development, staging, and production.
- Store sensitive credentials using environment variables.
- Test your pipeline before deploying to production.
- Monitor build logs regularly to identify issues quickly.
- Integrate Buddy with GitHub, Docker, or your preferred cloud platform.
Pro Tip: Start with a simple deployment pipeline, then gradually add automated testing, security checks, and deployment approvals as your project grows.
Common Buddy Mistakes to Avoid
Avoid these common mistakes when using Buddy:
- Skipping automated testing before deployment.
- Storing passwords or API keys directly in pipelines.
- Deploying to production without testing.
- Ignoring failed pipeline notifications.
- Using one pipeline for every environment.
Best Practices for Building Reliable CI/CD Pipelines
Once your pipelines are running, these long-term practices keep your CI/CD workflows organized, scalable, and easy to maintain.
- Keep pipelines simple and organized.
- Automate testing for every code change.
- Use separate environments for development, staging, and production.
- Secure secrets with environment variables.
- Review pipeline logs after every deployment.
- Regularly update your pipeline as your application evolves.
Troubleshooting Common Pabbly Connect Issues
If your automation isn’t working as expected, these quick fixes can help.
Pipeline Fails to Run
Check your pipeline trigger settings and repository connection.
Build Errors
Review the build logs and verify your dependencies and build commands.
Deployment Fails
Confirm your deployment credentials, server access, and destination settings.
Git Repository Won’t Connect
Reconnect your Git provider and verify repository permissions.
Tests Keep Failing
Review your test configuration and ensure your application meets all test requirements.
Frequently Asked Questions
What is Buddy?
Buddy is a visual CI/CD platform that automates building, testing, and deploying applications using customizable pipelines.
Is Buddy free?
Yes. Buddy offers a free plan with basic CI/CD features, while advanced capabilities are available through paid plans.
Can Buddy deploy to cloud platforms?
Yes. Buddy supports deployments to AWS, Azure, Google Cloud, DigitalOcean, Kubernetes, Docker, VPS servers, and many other platforms.
Does Buddy integrate with GitHub?
Yes. Buddy integrates with GitHub, GitLab, Bitbucket, and other Git providers to automate your development workflow.
Is Buddy suitable for beginners?
Yes. Its visual drag-and-drop interface makes it easy to create CI/CD pipelines without writing complex scripts.
Can Buddy automate testing?
Yes. Buddy can automatically run unit tests, integration tests, security scans, linting, and other quality checks before deployment.
Conclusion
Buddy simplifies software delivery by automating the entire CI/CD process, from building and testing applications to deploying them across multiple environments. Its visual pipeline builder, pre-built actions, and integrations with popular development tools help teams reduce manual work, improve code quality, and release software faster.
Whether you’re an individual developer, a startup, or a large DevOps team, Buddy provides an efficient way to streamline deployments, minimize errors, and build a reliable continuous integration and continuous deployment workflow.
Ready to Automate Your Software Delivery?
Start using Buddy today by connecting your Git repository, creating your first CI/CD pipeline, and automating your build, testing, and deployment process. As your projects grow, explore advanced features like multi-environment deployments, automated testing, deployment approvals, and cloud integrations to build a faster, more reliable software delivery pipeline.