How to Host a Website on Rocket.net: A Beginner’s Step-by-Step Guide
Choosing the right web hosting provider is one of the most important decisions you’ll make when building a website. A reliable host ensures your site loads quickly, stays secure, and remains available to visitors around the clock. Rocket.net is a managed cloud hosting platform known for its high-speed performance, built-in security, automatic updates, and user-friendly dashboard, making it a great choice for beginners and experienced website owners alike.
By TechScaleMedia Editorial · Updated July 2026 · 11 min read
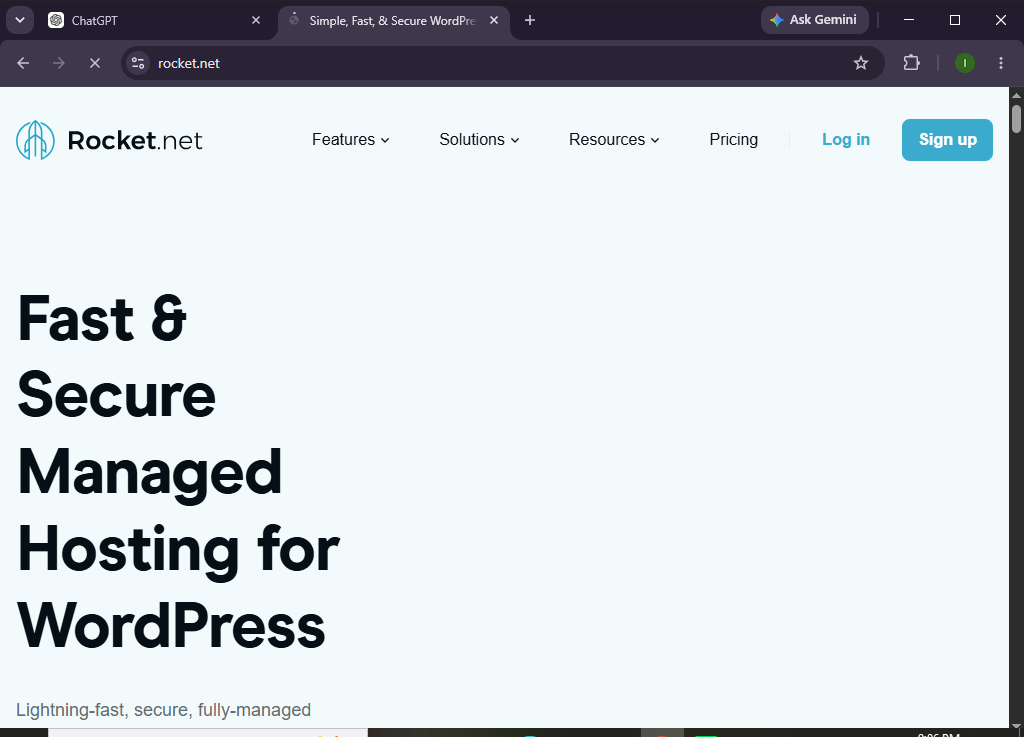
Whether you’re launching a personal blog, business website, portfolio, or online store, Rocket.net simplifies the hosting process so you can focus on creating content instead of managing servers. With features like free SSL certificates, global CDN, automatic backups, and malware protection, it provides everything you need to get your website online.
How do you host a website on Rocket.net?
Quick Answer
To host a website on Rocket.net, simply follow these steps:
- Sign up for a Rocket.net hosting account.
- Log in to your hosting dashboard.
- Create a new website.
- Connect your custom domain name.
- Update your DNS records.
- Enable the free SSL certificate.
- Upload your website files or install your preferred CMS.
- Customize your website’s design and settings.
- Test your website for performance and functionality.
- Publish your website and keep it updated.
Prerequisites
Before you begin, make sure you have:
- A Rocket.net hosting account
- A registered domain name
- A stable internet connection
- Website files or a CMS (such as WordPress) if you plan to use one
- Basic understanding of website management
Create a Workflow Manually (Recommended for Beginners)
If you’re new to managed WordPress hosting, launching your first website on Rocket.net is the best way to understand how the platform actually works.
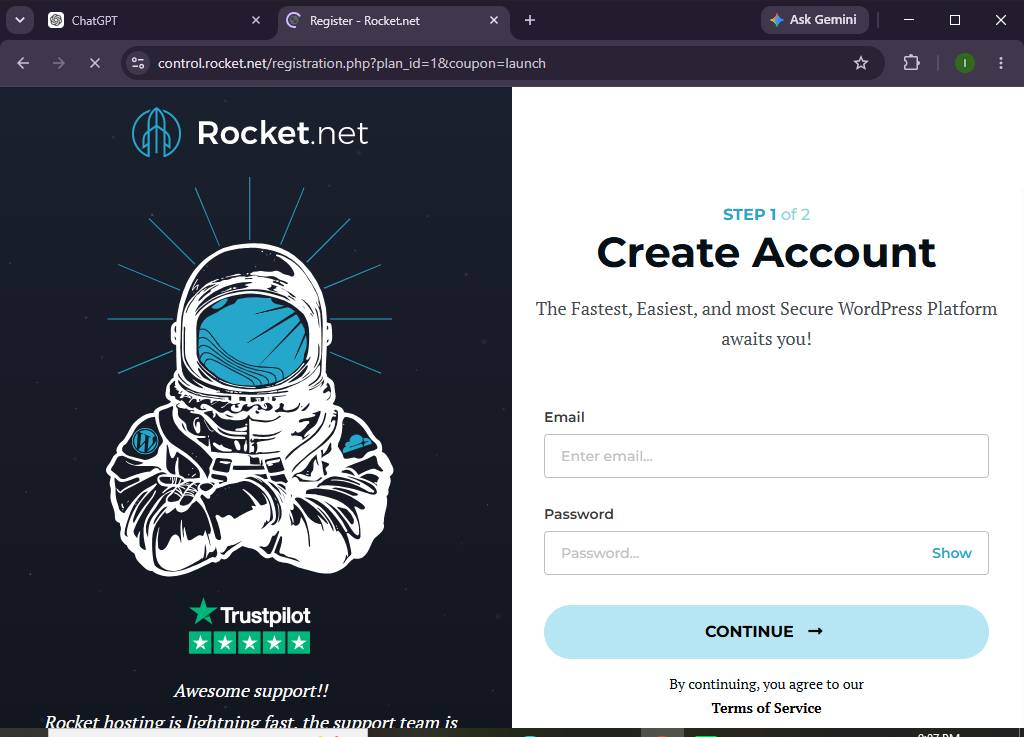
Step 1: Sign Up for a Rocket.net Account
Visit the Rocket.net website and choose a hosting plan that best suits your needs.
Consider factors such as:
- Number of websites
- Monthly traffic
- Storage requirements
- Business or personal use
Complete the registration process and verify your account.
Step 2: Access Your Hosting Dashboard
After signing in, you’ll be taken to the Rocket.net dashboard.
From here, you can:
- Create websites
- Manage domains
- View backups
- Configure SSL
- Monitor performance
- Access hosting settings
Take a few minutes to explore the dashboard before creating your first website.
Step 3: Create a New Website
Click Create Website or Add Website.
You’ll typically need to:
- Enter your website name
- Select the server location closest to your audience
- Choose your preferred website platform (if applicable)
Rocket.net will automatically prepare your hosting environment.
Step 4: Connect Your Domain Name
To make your website accessible using your own domain:
- Open the Domains section.
- Add your domain name.
- Copy the DNS records provided by Rocket.net.
- Log in to your domain registrar.
- Update your DNS settings.
DNS propagation may take anywhere from a few minutes to 48 hours, although it often completes much sooner.
Step 5: Enable SSL Security
Rocket.net provides free SSL certificates to help secure your website.
Check that:
- HTTPS is enabled
- The SSL certificate is active
- Visitors can access your site securely
This helps protect user data and improves search engine trust.
Step 6: Upload or Build Your Website
Now it’s time to add your website.
Depending on your setup, you can:
- Install a content management system like WordPress
- Upload website files using SFTP
- Restore an existing website backup
- Import your site from another hosting provider
Rocket.net also supports website migrations, making it easier to move an existing site.
Step 7: Customize Your Website
Once your website is installed, personalize it by:
- Choosing a theme or template
- Adding pages
- Creating menus
- Uploading images
- Installing useful plugins or extensions
- Configuring contact forms
Take time to review your site’s layout and branding.
Step 8: Optimize Website Performance
Rocket.net includes several built-in performance optimizations, but you can further improve your site by:
- Compressing images
- Removing unused plugins or files
- Using optimized themes
- Keeping software updated
- Minimizing unnecessary scripts
These practices help improve page speed and user experience.
Step 9: Test Your Website
Before launching, test your website thoroughly.
Check:
- Homepage
- Navigation menus
- Contact forms
- Mobile responsiveness
- Internal links
- Images
- SSL security
- Loading speed
Fix any issues before making your site public.
Step 10: Launch Your Website
Once everything looks good:
- Publish your content
- Share your website
- Monitor visitor activity
- Keep your website updated regularly
Congratulations! Your website is now live on Rocket.net.
Looking for fast, secure, and hassle-free web hosting?
Try Rocket.net and launch your website with confidence.
How can you make the most of Rocket.net hosting?
Tips
- Select the server location closest to your visitors.
- Keep your website software updated.
- Compress images before uploading them.
- Remove inactive plugins and themes.
- Enable automatic backups.
- Test your website regularly after making changes.
- Monitor your site’s performance using built-in tools.
What mistakes should you avoid when hosting a website on Rocket.net?
Common Mistakes
- Choosing the wrong hosting plan for your traffic needs
- Forgetting to connect the correct DNS records
- Ignoring SSL certificate activation
- Uploading large, unoptimized images
- Installing unnecessary plugins
- Skipping website backups before making major changes
- Not testing the website after setup
How can you keep your Rocket.net website secure and running smoothly?
Best Practices
- Update your website software regularly.
- Use strong passwords for all accounts.
- Schedule regular backups.
- Remove unused plugins and themes.
- Monitor website performance monthly.
- Optimize media files before uploading.
- Test your website after every major update.
- Review security settings periodically.
- Monitor uptime to ensure your site remains available.
What should you do if your Rocket.net website isn’t working as expected?
Troubleshooting
| Problem | Solution |
|---|---|
| Website isn’t loading | Check DNS settings and wait for propagation. |
| SSL certificate isn’t active | Verify your domain connection and allow time for SSL provisioning. |
| Can’t access the dashboard | Reset your login credentials or contact support. |
| Website loads slowly | Optimize images, remove unused plugins, and review your site’s content. |
| Domain isn’t connected | Double-check your DNS records with your domain registrar. |
| Website displays errors | Disable recently added plugins or review error logs. |
Frequently Asked Questions
Is Rocket.net suitable for beginners?
Yes. Rocket.net offers an intuitive dashboard and managed hosting features that make it easy for beginners to host and manage a website.
Can I migrate my existing website to Rocket.net?
Yes. Rocket.net offers migration services that help you transfer your website from another hosting provider.
Does Rocket.net include a free SSL certificate?
Yes. Every hosted website includes a free SSL certificate to secure data and enable HTTPS.
Can I host multiple websites on Rocket.net?
Yes. Depending on your hosting plan, you can host one or multiple websites.
Is Rocket.net good for business websites?
Yes. Its speed, security, automatic backups, and global CDN make it an excellent choice for business websites and eCommerce stores.
Do I need technical knowledge to use Rocket.net?
No. Rocket.net is designed to simplify hosting, making it accessible even if you have limited technical experience.
Conclusion
Rocket.net makes website hosting simple by combining powerful cloud infrastructure with beginner-friendly management tools. From creating your hosting account and connecting your domain to enabling SSL and optimizing performance, the platform handles many technical tasks automatically, allowing you to focus on building and growing your website.
By following the steps in this guide, you can confidently launch a secure, fast, and reliable website while taking advantage of Rocket.net’s managed hosting features and built-in performance optimizations.
Ready to launch your website on a high-performance hosting platform?
Try Rocket.net today and enjoy fast loading speeds, advanced security, automatic backups, and an easy-to-manage hosting experience that helps your website grow with confidence.