How to Use Canva: A Beginner’s Step-by-Step Guide
Creating professional-looking graphics can be challenging if you don’t have design experience. Hiring a designer for every social media post, presentation, flyer, or marketing material can also become expensive and time-consuming. Many beginners simply need an easy way to create attractive visuals without learning complex design software.
By TechScaleMedia Editorial · Updated July 2026 · 11 min read
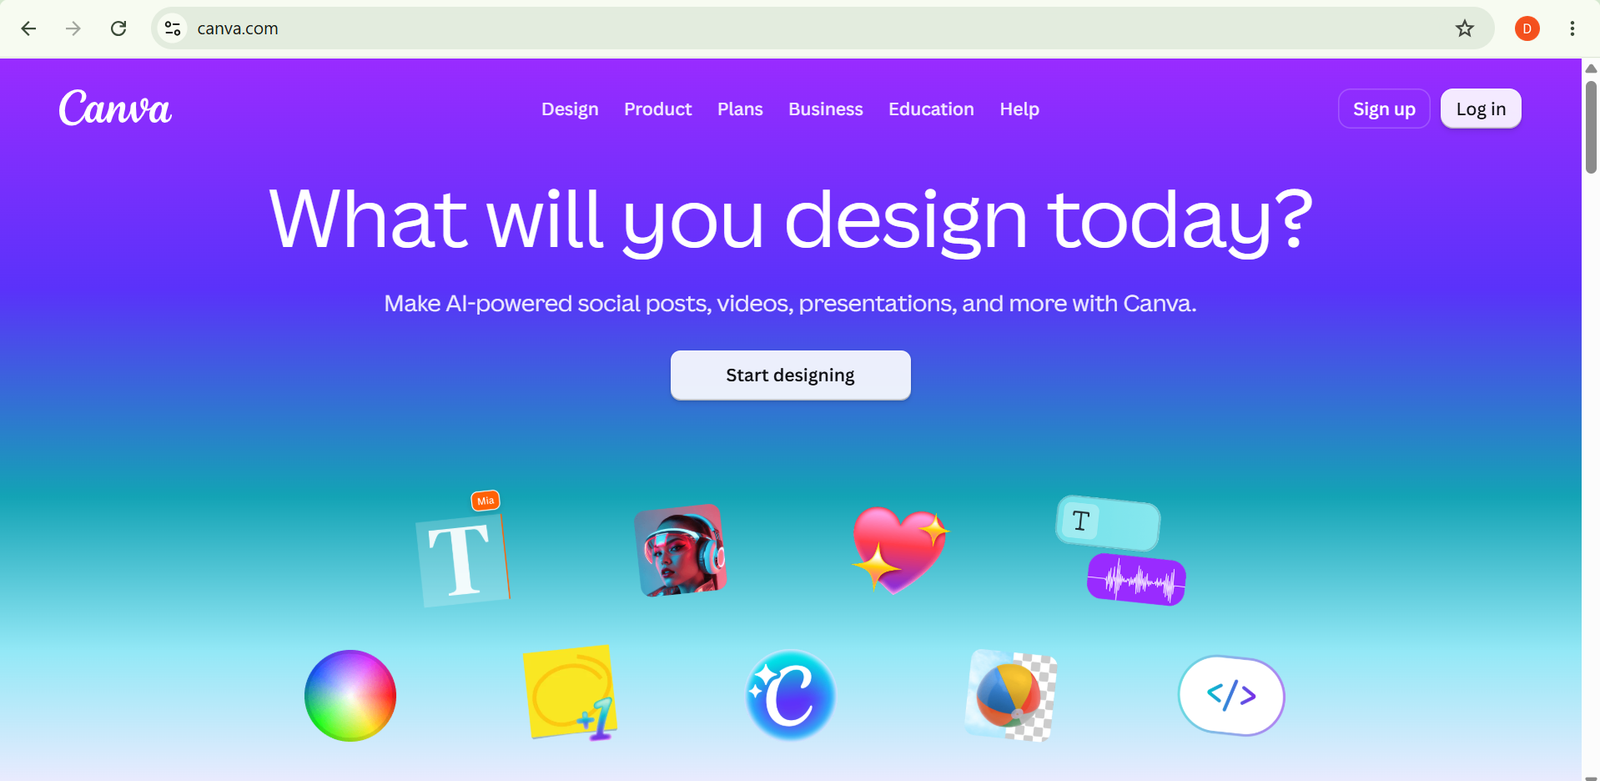
Canva solves this problem with an intuitive drag-and-drop design platform that anyone can use. It offers thousands of ready-made templates, millions of stock photos and graphics, AI-powered design tools, and real-time collaboration features that help individuals and teams create high-quality visual content in minutes.
In this guide, you’ll learn how to use Canva step by step, from creating your account and customizing templates to using AI features, collaborating with your team, and exporting designs for print or digital use.
How Do You Use Canva?
Quick Answer
Using Canva is simple:
- Create a Canva account.
- Choose your design type or template.
- Customize the design using the drag-and-drop editor.
- Add images, icons, and other design elements.
- Apply your Brand Kit (if available).
- Use Canva AI tools to speed up your workflow.
- Collaborate with teammates.
- Create animations or videos if needed.
- Organize your designs into folders.
- Download or publish your finished design.
Prerequisites
Before getting started, you’ll need:
- A Canva account (Free, Pro, or Teams)
- A computer or mobile device
- A stable internet connection
- Your logo, images, or brand assets (optional)
- Content such as text, photos, or videos for your design
Create a Workflow Manually (Recommended for Beginners)
If you’re new to graphic design, creating your first project in Canva is the best way to understand how the platform actually works.
Step 1: Create Your Canva Account
Visit Canva and sign up using your email address, Google account, Apple ID, or Microsoft account.
After signing in, Canva will ask about your intended use, such as:
- Personal projects
- Business
- Education
- Marketing
- Nonprofit
This helps personalize your dashboard and recommend relevant templates.
Step 2: Choose a Design Type
Click Create a Design to begin.
You can select from hundreds of preset formats, including:
- Instagram Post
- Facebook Cover
- YouTube Thumbnail
- Presentation
- Resume
- Flyer
- Poster
- Business Card
- Logo
- Video
If you have custom dimensions, create a blank design using your preferred width and height.
Starting with the correct design size ensures your content is optimized for its intended platform.
Step 3: Select and Customize a Template
Browse Canva’s template library and choose one that matches your project.
You can personalize nearly every element, including:
- Headings
- Body text
- Colors
- Fonts
- Images
- Backgrounds
- Shapes
- Icons
The drag-and-drop editor makes it easy to rearrange elements until you’re happy with the layout.
Rather than redesigning everything, focus on adapting the template to match your own style and message.
Step 4: Add Photos, Graphics, and Other Elements
Enhance your design by adding visual elements from Canva’s built-in library.
You can insert:
- Stock photos
- Icons
- Illustrations
- Stickers
- Charts
- Frames
- Shapes
- Videos
- Audio
You can also upload your own images, logos, or brand assets.
Using visuals that support your message makes your designs more engaging and easier to understand.
Step 5: Set Up Your Brand Kit (Canva Pro)
If you’re using Canva Pro or Canva Teams, create a Brand Kit to maintain consistency across your designs.
Add your:
- Company logo
- Brand colors
- Brand fonts
- Brand icons
Once configured, you can apply your branding with just a few clicks instead of manually updating every design.
This is especially useful for businesses that create content regularly.
Step 6 Use Canva’s AI Tools
Canva includes several AI-powered features that can speed up your creative process.
Popular tools include:
- Magic Write for generating text
- Magic Resize for adapting designs to different platforms
- Background Remover for isolating subjects
- Magic Media for AI-generated images
- Magic Edit for modifying parts of an image
These tools help reduce repetitive editing while giving you more time to focus on creativity.
Step 7: Collaborate with Your Team
Canva allows multiple people to work on the same design simultaneously.
Invite teammates to:
- Edit designs
- Leave comments
- Review drafts
- Approve changes
Real-time collaboration eliminates the need to send multiple file versions back and forth.
Step 8: Create Animations or Videos
Canva isn’t limited to static graphics.
You can create:
- Social media videos
- Animated presentations
- Promotional videos
- Short advertisements
- Product showcases
Use transitions, animations, and the timeline editor to bring your content to life.
Preview your animation before exporting to ensure everything plays smoothly.
Step 9: Organize Your Designs
As your projects grow, keeping everything organized becomes important.
Create folders for:
- Clients
- Marketing campaigns
- Social media
- Presentations
- Brand assets
- Personal projects
You can also save customized templates so future projects maintain a consistent look and feel.
Step 10: Download or Publish Your Design
Once your design is complete, click Share or Download.
Depending on your project, export it as:
- PNG
- JPG
- SVG (Pro)
- MP4
- GIF
You can also publish designs directly to supported social media platforms or share them using a link.
Before downloading, review your design one final time for spelling, alignment, and image quality.
Ready to create professional designs without graphic design experience?
Start using Canva to design social media graphics, presentations, marketing materials, videos, and more—all from one easy-to-use platform.
How Can You Use Canva More Efficiently?
Tips
- Use the Magic Resize feature when creating the same design for multiple platforms.
- Press T to quickly add a text box while designing.
- Use the Position tool to align elements evenly instead of adjusting manually.
- Group related elements together so they move as one object.
- Use Canva’s search filters to find specific graphics, styles, or content types faster.
- Create copies of a design before making major changes so you can compare versions.
- Use folders to separate active projects from completed designs.
How Can You Avoid Common Canva Errors?
Common Mistakes
- Using too many colors that make the design look inconsistent.
- Choosing decorative fonts that are difficult to read.
- Copying templates without adjusting them for your audience or purpose.
- Using low-resolution images that look unprofessional.
- Placing important text too close to the edges where it may be cropped.
- Adding unnecessary animations that distract from the main message.
- Forgetting to check licensing restrictions before using premium assets commercially.
How Can You Get the Most Value from Canva?
Best Practices
- Create a clear visual identity with consistent colors, fonts, and design styles.
- Maintain a library of approved brand assets for future projects.
- Create design guidelines so team members produce consistent content.
- Review older designs periodically and update outdated visuals.
- Keep editable source files organized for future revisions.
- Use templates strategically while adding original branding and messaging.
- Review performance data from published content to understand which designs work best.
How Can You Troubleshoot Canva Effectively?
Troubleshooting
Images appear blurry after downloading
Download your design in a higher-quality format or use a larger canvas size before exporting.
Team members can’t edit the design
Check the sharing permissions and make sure they’ve been granted editing access instead of view-only access.
Fonts look different after export
Verify that the selected font supports your export format and that it has loaded correctly before downloading.
Uploaded images won’t appear
Refresh the browser or re-upload the files, ensuring they are in a supported image format.
Design elements move accidentally
Lock completed elements before continuing with additional edits.
Frequently Asked Questions
Is Canva free to use?
Yes. Canva offers a free plan with thousands of templates and design elements. Canva Pro and Canva Teams provide additional features such as the Brand Kit, premium content, AI tools, and advanced collaboration.
Can I create videos with Canva?
Yes. Canva includes a built-in video editor that lets you create promotional videos, presentations, social media content, and animated graphics using templates, transitions, and audio.
What is Canva Magic Studio?
Magic Studio is Canva’s collection of AI-powered tools that help users generate text, create images, remove backgrounds, resize designs, and edit content more efficiently.
Can multiple people work on the same design?
Yes. Canva supports real-time collaboration, allowing team members to edit designs, leave comments, and review projects together.
Which file formats can Canva export?
Canva supports multiple export formats, including PNG, JPG, PDF, MP4, GIF, and SVG (available with eligible plans), making it suitable for both digital and print projects.
Conclusion
Canva makes graphic design accessible to everyone by combining an intuitive drag-and-drop editor with thousands of templates, AI-powered creative tools, and collaborative features. Whether you’re creating content for social media, presentations, marketing campaigns, or business documents, Canva helps you produce professional-quality designs quickly and efficiently.
By following this guide, you’ll be able to create visually appealing content, streamline your design workflow, and organize your projects with confidence.
Start using Canva today to create professional graphics, presentations, videos, and marketing materials with ease.
As you explore its templates, AI features, and collaboration tools, you’ll be able to produce polished designs that capture attention and strengthen your brand.