How to Use Twingate: A Beginner’s Step-by-Step Guide
Remote work has become the norm, but giving employees secure access to company resources without exposing the entire network remains a challenge. Traditional VPNs can be difficult to manage, slow down connections, and increase security risks.
By TechScaleMedia Editorial · Updated July 2026 · 11 min read
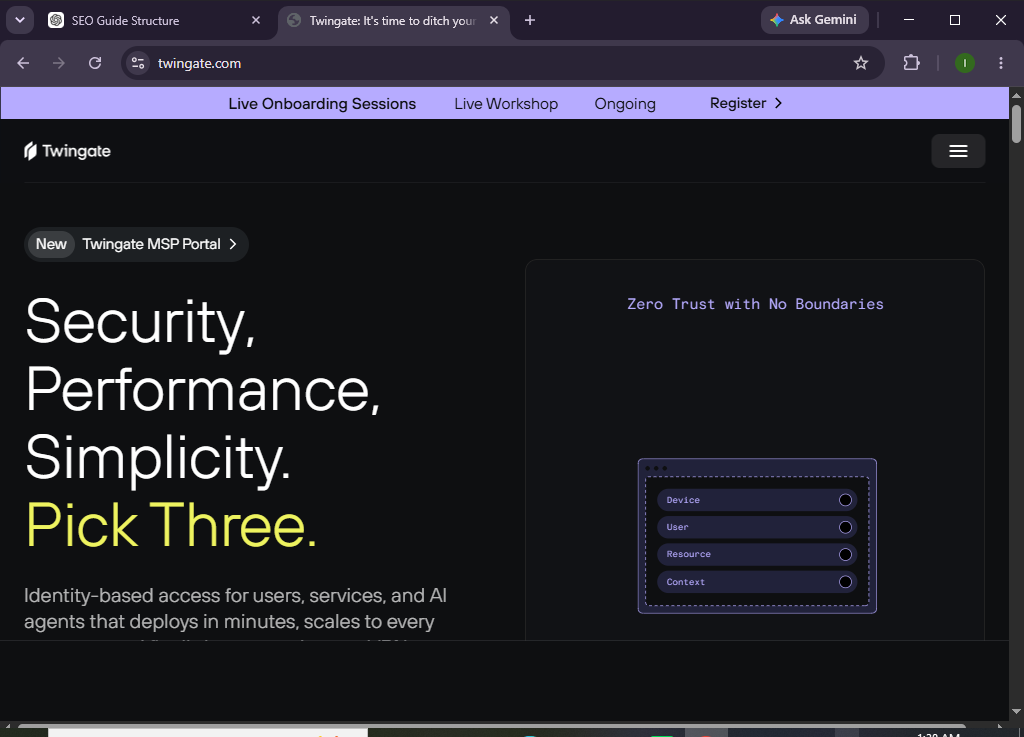
Twingate solves these problems with a Zero Trust Network Access (ZTNA) approach. Instead of connecting users to the entire corporate network, it grants access only to the applications and resources they need. This improves security, simplifies management, and delivers faster remote access.
Whether you’re an IT administrator, business owner, or remote employee, this guide will show you exactly how to set up and use Twingate from scratch.
How Do You Set Up and Use Twingate?
Quick Answer
To use Twingate, create an account, configure your network, install a Connector inside your private network, create user groups and access policies, install the Twingate Client on user devices, and sign in. Once connected, users can securely access authorized resources without a traditional VPN.
Prerequisites
Before you begin, make sure you have:
- A Twingate account
- Administrator access to your organization
- A private network or cloud environment
- A Windows, macOS, Linux, iOS, or Android device
- Internet connectivity
- Permission to install software
- Basic knowledge of your network resources
Create a Workflow Manually (Recommended for Beginners)
If you’re new to Zero Trust security, setting up your first secure connection in Twingate is the best way to understand how the platform actually works.
Step 1: Create Your Twingate Account
Visit the Twingate website and create a new organization.
After signing up:
- Verify your email address.
- Name your organization.
- Select your preferred cloud region.
- Access the Admin Console.
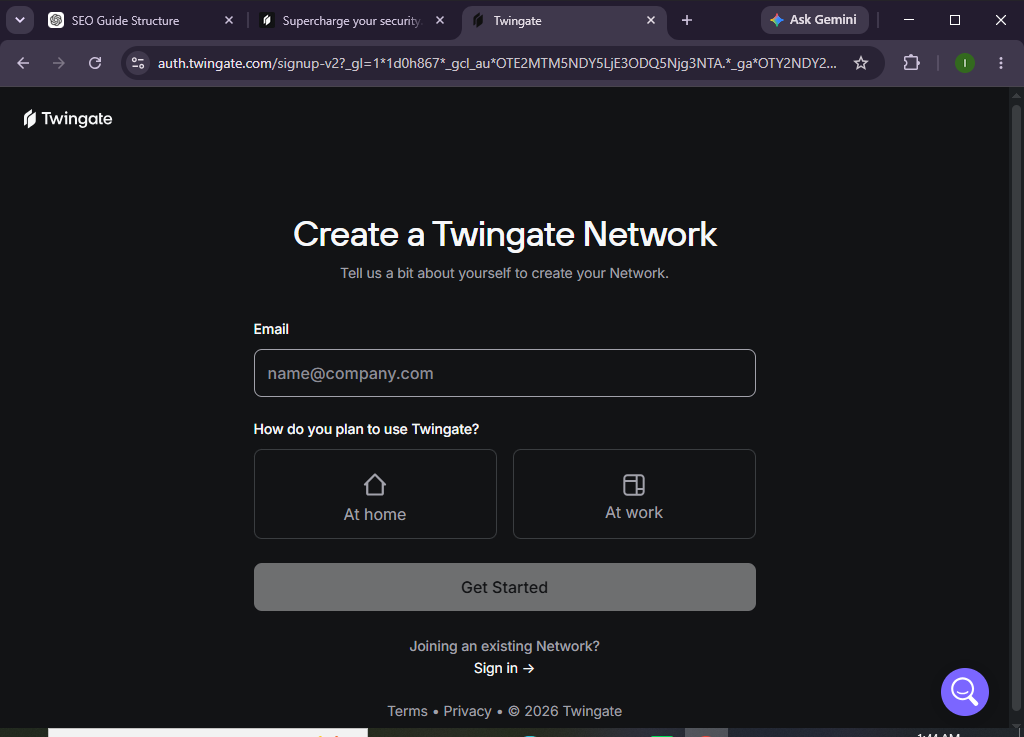
The Admin Console is where you’ll configure users, resources, connectors, and security policies.
Step 2: Set Up Your Private Network
Twingate needs to know which private network it should protect.
Inside the Admin Console:
- Open Networks.
- Click Add Network.
- Enter your network details.
- Save the configuration.
This network represents the environment where your internal applications and servers are located.
Step 3: Install a Twingate Connector
The Connector acts as the bridge between your private resources and authenticated users.
To install it:
- Open Connectors.
- Create a new Connector.
- Copy the installation command.
- Deploy it on:
- Docker
- Linux server
- Virtual machine
- Kubernetes cluster
- Confirm the Connector status changes to Connected.
For high availability, deploy at least two Connectors.
Step 4: Add Your Private Resources
Resources are applications, databases, or servers users will access.
Examples include:
- Internal websites
- Development servers
- File servers
- Databases
- Cloud workloads
- Git repositories
To add one:
- Open Resources.
- Click Add Resource.
- Enter:
- Resource name
- IP address or domain
- Protocol
- Save the resource.
Repeat this process for all internal systems.
Step 5: Create User Groups
Instead of assigning permissions individually, organize users into groups.
Examples:
- HR
- Finance
- Marketing
- Developers
- IT Support
- Contractors
Go to:
Users → Groups → Create Group
Assign members to the appropriate groups.
This makes future permission management much easier.
Step 6: Configure Access Policies
Now decide who can access which resources.
For examples:
| Group | Resource |
|---|---|
| Developers | Development Servers |
| HR | Payroll Systems |
| Finance | Accounting Software |
| IT | All Infrastructure |
Apply the principle of least privilege by granting only the access each group requires.
Step 7: Invite Users
Navigate to:
Users → Invite Users
Enter employee email addresses.
Each user receives an invitation to join your organization.
They simply accept the invitation and create their account.
Step 8: Install the Twingate Client
Every user needs the Twingate Client installed.
Supported platforms include:
- Windows
- macOS
- Linux
- Android
- iPhone/iPad
After installation:
- Launch the application.
- Enter your organization name.
- Sign in using your credentials.
- Complete multi-factor authentication if required.
Once authenticated, users can securely access approved resources.
Step 9: Verify the Connection
Open an internal application or server.
If your policies are configured correctly:
- The connection is encrypted.
- Only authorized resources are accessible.
- Users don’t need to manually connect to a VPN.
The secure tunnel activates automatically when needed.
Step 10: Monitor Activity
Use the Admin Console to review:
- User logins
- Device activity
- Resource access
- Connector health
- Security events
- Audit logs
Regular monitoring helps identify unusual behavior and maintain compliance.
Looking for a modern alternative to traditional VPNs?
Try Twingate to simplify secure remote access while strengthening your organization’s security posture.
How Can You Get the Best Performance from Twingate?
Tips
- Deploy multiple Connectors for redundancy.
- Enable multi-factor authentication.
- Organize users into groups.
- Review permissions regularly.
- Remove inactive users.
- Keep Connectors updated.
- Use DNS-based resources whenever possible.
- Monitor audit logs frequently.
What Should You Avoid When Using Twingate?
Common Mistakes
- Giving every employee access to all resources
- Running only one Connector
- Ignoring software updates
- Forgetting to enable MFA
- Using overly broad access policies
- Not testing permissions after configuration
- Leaving unused accounts active
How Can You Keep Your Twingate Environment Secure?
Best Practices
- Follow Zero Trust principles.
- Grant minimum required permissions.
- Require MFA for every user.
- Audit permissions monthly.
- Deploy multiple Connectors.
- Monitor logs continuously.
- Remove inactive accounts immediately.
- Keep all client applications updated.
- Document your network resources.
- Regularly test remote access policies.
What Should You Do If Twingate Isn’t Working?
Troubleshooting
Users cannot connect
- Verify internet connectivity.
- Confirm the user has accepted the invitation.
- Check authentication settings.
Resource cannot be reached
- Verify the resource address.
- Confirm Connector health.
- Review access policies.
Connector Officer
- Restart the Connector service.
- Check firewall settings.
- Verify outbound internet access.
Authentication problems
- Confirm identity provider settings.
- Reset user credentials if necessary.
- Check MFA configuration.
Frequently Asked Questions
Is Twingate better than a traditional VPN?
For many organizations, yes. Twingate provides application-level access rather than exposing the entire network, improving both security and user experience.
Does Twingate work on mobile devices?
Yes. It supports Android and iOS devices in addition to Windows, macOS, and Linux.
Do I need public IP addresses?
No. Twingate securely connects users to private resources without exposing them to the public internet.
Can small businesses use Twingate?
Absolutely. Twingate is suitable for startups, small businesses, and large enterprises.
Does Twingate support cloud environments?
Yes. It integrates with AWS, Azure, Google Cloud, Kubernetes, and hybrid infrastructure.
Is multi-factor authentication supported?
Yes. Twingate supports MFA through various identity providers for stronger security.
Conclusion
Twingate makes secure remote access easier by replacing traditional VPNs with a Zero Trust approach. Instead of opening your entire network, it connects users only to the resources they’re authorized to access, reducing risk while improving performance and usability.
By following the steps in this guide—creating your organization, deploying Connectors, adding resources, defining access policies, and installing the client—you can build a secure remote access environment that’s simple to manage and scalable as your team grows.
Ready to modernize your remote access?
Try Twingate today and experience secure, Zero Trust connectivity without the complexity of traditional VPNs. Set up your first Connector, protect your private resources, and simplify secure access for your entire team.