How to Host a Website on WP Engine: A Beginner’s Step-by-Step Guide
Choosing the right hosting platform is one of the most important decisions when building a website. A reliable hosting provider ensures your site remains fast, secure, and available to visitors around the clock. WP Engine is a premium managed hosting platform known for its excellent performance, advanced security, automatic backups, and developer-friendly tools. Whether you’re creating a business website, portfolio, online store, or personal blog, WP Engine offers a streamlined hosting experience backed by enterprise-grade infrastructure.
By TechScaleMedia Editorial · Updated July 2026 · 11 min read
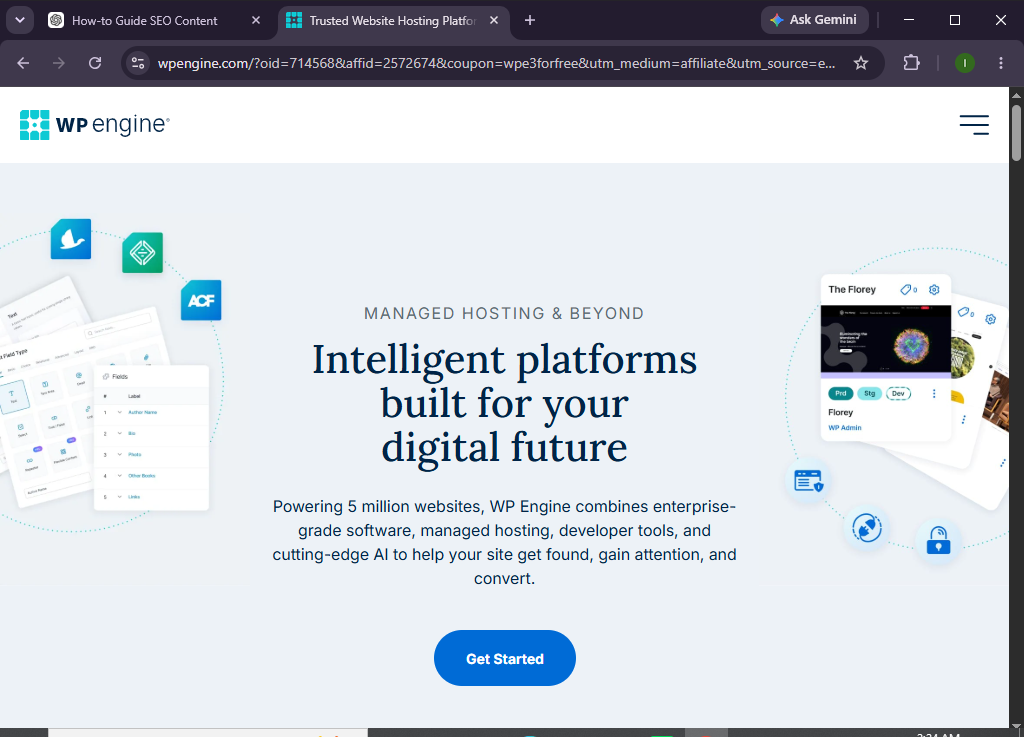
With built-in caching, staging environments, free SSL certificates, and proactive security monitoring, WP Engine helps you focus on growing your website instead of managing servers. This guide walks you through the complete process of hosting your website on WP Engine.
How do you host a website on WP Engine?
Quick Answer
Hosting a website on WP Engine is simple:
- Create a WP Engine account.
- Choose the hosting plan that meets your needs.
- Log in to the WP Engine User Portal.
- Create a new website.
- Connect your custom domain.
- Update your DNS records.
- Enable the free SSL certificate.
- Upload your website or migrate an existing one.
- Test your website’s functionality and speed.
- Publish your website and monitor its performance.
Quick Tip: WP Engine provides migration tools that make transferring an existing website quick and straightforward.
Prerequisites
Before getting started, make sure you have:
- A WP Engine hosting account
- A registered domain name
- A stable internet connection
- Website files or your preferred CMS
- Basic knowledge of website management
Create a Workflow Manually (Recommended for Beginners)
If you’re new to managed WordPress hosting, launching your first website on WP Engine is the best way to understand how the platform actually works.
Step 1: Create Your WP Engine Account
Visit the WP Engine website and choose a hosting plan.
Consider:
- Estimated monthly traffic
- Storage requirements
- Number of websites
- Business or personal use
Complete your registration and verify your account.
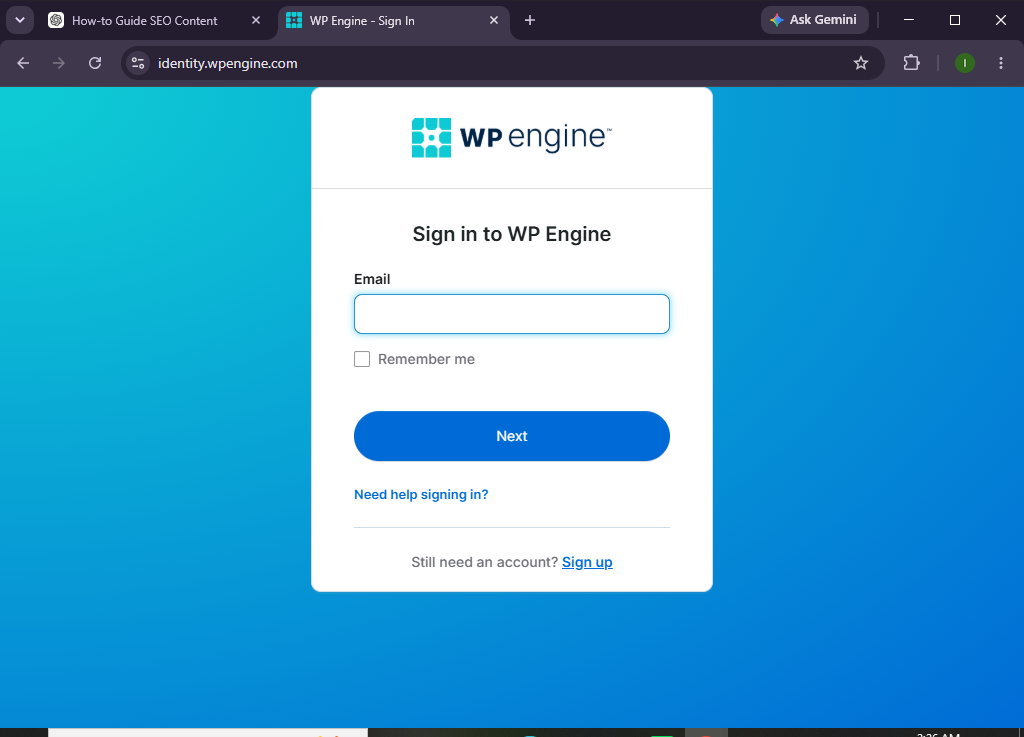
Step 2: Access the User Portal
After signing in, open the WP Engine User Portal.
From here you can manage:
- Websites
- Domains
- SSL certificates
- Backups
- Staging environments
- Performance tools
- User permissions
Take a few minutes to explore the available features.
Step 3: Create a New Website
Click Add Site.
You’ll typically need to:
- Name your website
- Select your preferred data center
- Configure basic settings
WP Engine will automatically prepare your hosting environment.
Step 4: Connect Your Domain
To use your custom domain:
- Open the Domains section.
- Add your domain name.
- Copy the required DNS information.
- Update the DNS records with your domain registrar.
Allow DNS propagation to complete.
Step 5: Enable SSL
WP Engine includes free SSL certificates.
Verify that:
- HTTPS is enabled.
- SSL status is active.
- Your website loads securely.
SSL helps protect user data and improves search engine trust.
Step 6: Upload Your Website
Now add your website using one of these methods:
- Upload website files
- Install your preferred CMS
- Migrate an existing website
- Restore a previous backup
Choose the option that best fits your project.
Step 7: Customize Your Website
Personalize your website by:
- Selecting a design
- Creating pages
- Uploading your logo
- Organizing navigation menus
- Adding images and videos
- Installing useful plugins or extensions
Preview your changes before publishing.
Step 8: Optimize Your Website
Improve your website by:
- Compressing images
- Removing unnecessary plugins
- Updating website software
- Optimizing media files
- Reviewing caching settings
These optimizations help deliver a faster browsing experience.
Step 9: Test Your Website
Before launching, check:
- Homepage
- Navigation menus
- Contact forms
- Mobile responsiveness
- SSL certificate
- Internal links
- Website loading speed
Fix any issues before publishing.
Step 10: Publish Your Website
When everything is ready:
- Publish your website.
- Share your domain.
- Monitor website performance.
- Continue updating your content regularly.
Your website is now live on WP Engine.
Looking for a hosting platform built for speed and reliability?
Explore WP Engine today and launch your website with confidence.
How can you maximize your website’s performance on WP Engine?
Tips
- Choose the closest data center to your audience.
- Optimize images before uploading.
- Keep your website software updated.
- Remove unused plugins and themes.
- Create backups before major changes.
- Monitor website analytics regularly.
- Test performance after every update.
What mistakes should you avoid when hosting on WP Engine?
Common Mistakes
- Choosing the wrong hosting plan
- Forgetting to update DNS records
- Publishing before SSL activation
- Uploading oversized media files
- Installing unnecessary plugins
- Ignoring routine backups
- Launching without testing the website
How can you keep your WP Engine-hosted website secure and optimized?
Best Practices
- Keep your website software updated.
- Enable automatic backups.
- Use strong passwords and multi-factor authentication.
- Remove unused themes and plugins.
- Optimize images before publishing.
- Monitor website uptime and performance.
- Test your website after major updates.
- Review security settings frequently.
- Upgrade your hosting plan as your website grows.
How can you fix common WP Engine hosting issues?
Troubleshooting
| Problem | Solution |
|---|---|
| Website isn’t loading | Verify your DNS records and wait for propagation. |
| SSL isn’t active | Check domain settings and allow SSL activation time. |
| Unable to access the User portal | Reset your password or contact customer support. |
| Website loads slowly | Optimize images, review plugins, and clear cache. |
| Domain isn’t connecting | Double-check your DNS configuration. |
| Website displays unexpected errors | Restore a recent backup or review recent changes. |
Frequently Asked Questions
Is WP Engine suitable for beginners?
Yes. WP Engine offers a user-friendly dashboard, managed hosting features, and extensive support resources that make it easy for beginners.
Can I migrate an existing website to WP Engine?
Yes. WP Engine provides migration tools and assistance to simplify website transfers.
Does WP Engine include free SSL?
Yes. Free SSL certificates are included with hosting plans.
Can I host multiple websites?
Yes. Multi-site hosting depends on the plan you choose.
Is WP Engine suitable for business websites?
Absolutely. Its premium infrastructure, security features, and performance optimization make it a strong choice for business websites and growing online projects.
Does WP Engine perform automatic backups?
Yes. WP Engine includes automatic daily backups and provides options for manual backups before major changes.
Conclusion
WP Engine offers a premium managed hosting experience that combines powerful performance, enterprise-grade security, and an intuitive management dashboard. From creating your account and connecting your domain to enabling SSL and optimizing performance, the platform makes it easy to host and manage a professional website.
By following this guide, you’ll be able to launch a secure, high-performing website while taking advantage of WP Engine’s advanced hosting tools and reliable infrastructure.
Ready to power your website with premium managed hosting?
Sign up for WP Engine today and enjoy high-speed performance, advanced security, automatic backups, and the confidence to scale your website as your audience grows.