

How to Use Albato: A Beginner's Step-by-Step Guide
Manually transferring data between apps can slow down your work and increase the risk of errors. Workflow automation tools solve this problem by automatically connecting your favorite applications and performing repetitive tasks for you.
Albato is a no-code automation platform that helps users integrate cloud applications and automate business processes. Whether you need to sync customer data, send notifications, update spreadsheets, or automate marketing tasks, Albato lets you build powerful workflows without writing code.
This guide explains how to use Albato to create your first automation from start to finish. Ready to connect your favorite apps and automate your workflows?
How do you use Albato?
A Quick Answer
To use Albato:
- 1. Create an Albato account.
- 2. Build a new automation.
- 3. Select a trigger app.
- 4. Connect your applications.
- 5. Add one or more actions.
- 6. Map your data fields.
- 7. Test and activate the automation.
Once enabled, Albato automatically performs your workflow whenever the trigger event occurs.
Prerequisites
Before you begin, you’ll need:
- An Albato account
- A stable internet connection
- Accounts for the apps you want to connect (Google Sheets, Gmail, Slack, HubSpot, Airtable, etc.)
- API keys or login credentials if required
- A clear workflow plan for the automation you want to build
What You'll Need Before Using Albato
Before creating your first Albato automation, make sure you have:
- Automate repetitive tasks and save time
- Connect apps and streamline team workflows
- Build powerful no-code automations
- Securely sync and manage business data
- Ideal for businesses, marketers, and developers
Create a Workflow Manually (Recommended for Beginners)
If you’re new to automation, manually building your first workflow is the best way to understand how Albato works and automate business processes with confidence.
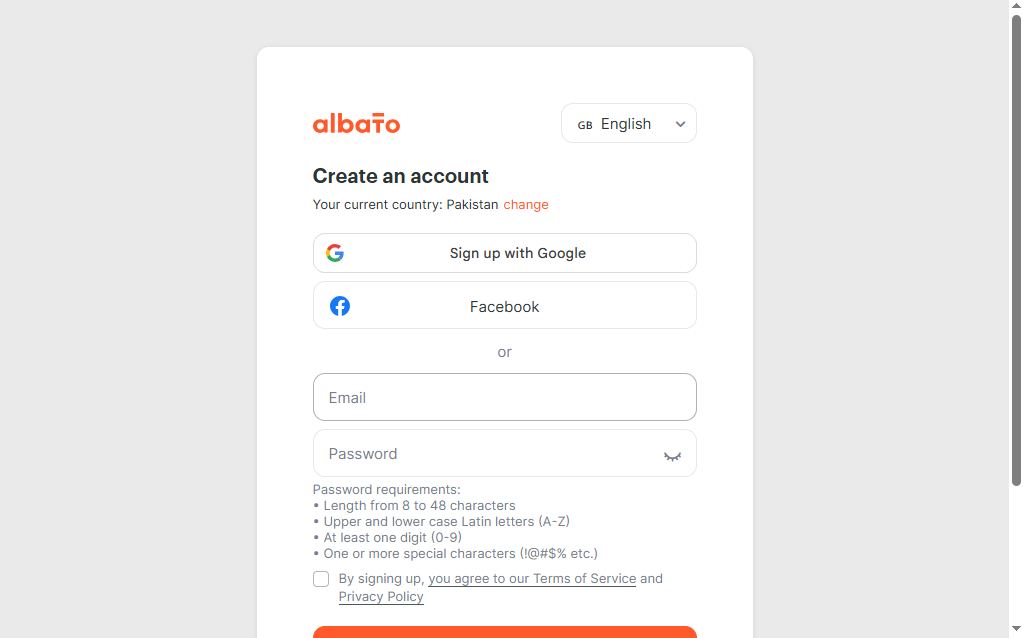
Create an Albato Account
Visit the Albato website.
Click Sign Up and register using:
- Google account
- Email address
Verify your email if requested.
After logging in, you’ll be taken to your dashboard.
From your dashboard:
- Click Create Automation.
- Enter a descriptive name for your workflow.
Examples:
- New Lead Notification
- Customer Welcome Email
- CRM Contact Sync
- Order Processing Workflow
Every automation begins with a trigger.
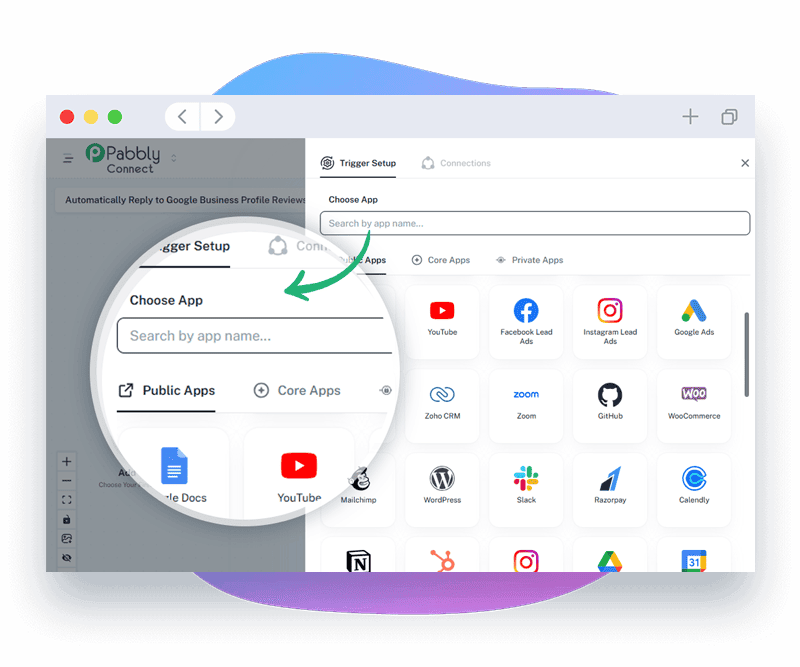
Select the application where your workflow should start.
Examples include:
- Google Forms
- Shopify
- HubSpot
- Gmail
- Google Sheets
- Webhooks
- Calendly
Then choose the specific trigger event.
Examples:
- New form submission
- New order
- New contact
- Updated spreadsheet row
- Incoming webhook
Authorize Albato to access your apps.
Popular integrations include:
- Google Workspace
- Slack
- HubSpot
- Airtable
- Trello
- Notion
- Salesforce
- Mailchimp
- Shopify
Follow the authentication process and grant the necessary permissions.
Now choose what Albato should do after the trigger.
Examples:
- Send an email
- Update a CRM contact
- Create a Trello task
- Add a Google Sheets row
- Send a Slack notification
- Create a Notion page
You can add multiple actions to build more advanced workflows.
Map information from the trigger to each action.
Example:
Google Form Submission → HubSpot
- Name → Contact Name
- Email → Email Address
- Phone → Phone Number
- Company → Company Name
Albato allows you to use dynamic fields so information flows automatically between apps.
Click Test.
Verify that:
- The trigger activates correctly.
- Data transfers accurately.
- Connected apps receive the correct information.
- Every action completes successfully.
Resolve any errors before publishing.
Activate the Automation
Once testing is successful:
- Click Enable Automation
- Save your workflow
Albato will now automatically execute the workflow whenever the selected trigger occurs.
What are the best tips for using Albato effectively?
These expert Albato tips will help you build smarter, faster, and more reliable workflow automations:
- Begin with a simple two-step workflow.
- Give every automation a descriptive name.
- Test workflows before enabling them.
- Keep API connections updated.
- Review automation history regularly.
- Group related workflows by department or project
What are the most common mistakes to avoid when using Albato?
Although Albato is beginner-friendly, small configuration mistakes can prevent your automations from working correctly. Avoid these common errors to build reliable workflows from the start.
Inactive workflows will not run even if all conditions are met.
An incorrect trigger can prevent the workflow from starting at the right time.
Incorrectly mapped fields can transfer inaccurate or incomplete data between applications.
Authentication issues can break app connections and stop workflows from executing.
Testing helps identify and fix errors before the workflow is used in a live environment.
Simple workflows are easier to build, manage, and troubleshoot as you learn.
How do you troubleshoot common Albato issues?
If your Albato automation isn’t working as expected, these quick troubleshooting tips can help.
Check whether:
- The workflow is enabled.
- The trigger event has occurred.
- Connected applications are properly authenticated.
Try:
- Reconnecting the application.
- Updating expired API credentials.
- Confirming account permissions.
Verify:
- Field mapping is correct.
- Required fields are not empty.
- Source data is available.
Review:
- Execution logs
- API usage limits
- Internet connectivity
- Third-party application status
What are the best practices for using Albato?
Once your Albato workflows are running successfully, following these best practices will keep your automations organized, scalable, and easy to maintain.
Build simple workflows before creating complex automations.
Monitor execution history regularly.
Secure API keys and connected accounts.
Document important business workflows for your team.
Use meaningful workflow names.
Test after making workflow changes.
Remove outdated automations.
Frequently Asked Questions
1. Is Albato beginner-friendly?
Yes. Albato offers a visual no-code workflow builder designed for beginners and experienced users alike.
2. Does Albato require coding?
No. You can create integrations and automate workflows without programming knowledge.
3. Which apps can I connect?
Can I build multi-step workflows?
04.Which remote work tool is best for beginners?
Yes. Albato allows you to create workflows with multiple actions, filters, and conditional logic.
5. Is Albato suitable for businesses?
Yes. Businesses use Albato to automate marketing, sales, customer support, HR, finance, operations, and internal processes.
6. Can Albato synchronize data between apps?
Yes. One of Albato's primary functions is automatically syncing information between connected applications in real time.
Conclusion
Albato is a powerful no-code automation platform that helps individuals and businesses eliminate repetitive tasks by connecting their favorite applications. From customer relationship management and marketing automation to data synchronization and team collaboration, Albato simplifies complex workflows and improves productivity. Start with a basic automation, test it thoroughly, and gradually build more advanced workflows as your automation needs grow.