How to Host a Website on SpinupWP: A Beginner’s Step-by-Step Guide
Building a successful website starts with choosing a hosting management platform that makes deployment and maintenance simple. SpinupWP is a cloud server management platform that helps you host and manage websites on your own cloud servers without dealing with complicated server administration. It automates many technical tasks, including server configuration, SSL installation, backups, and performance optimization, making it an excellent choice for freelancers, agencies, developers, and growing businesses.
By TechScaleMedia Editorial · Updated July 2026 · 11 min read
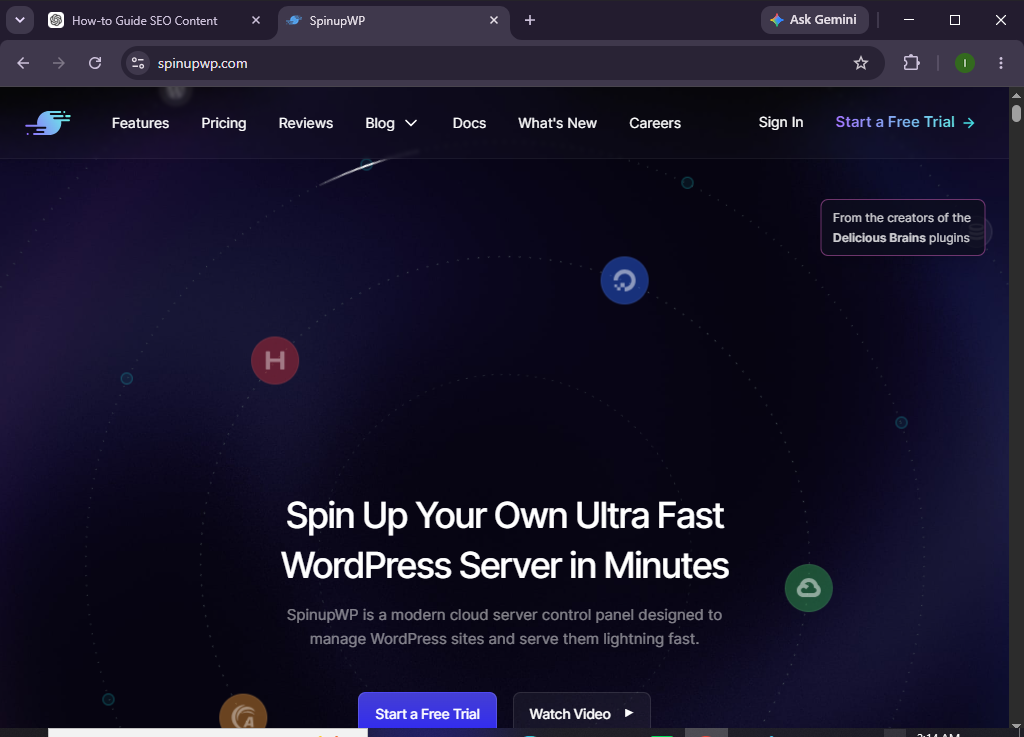
Whether you’re launching a business website, portfolio, blog, or online store, SpinupWP provides the flexibility of cloud hosting with an easy-to-use dashboard. This guide will walk you through the complete process of hosting your website on SpinupWP, from connecting your server to publishing your website.
How do you host a website on SpinupWP?
Quick Answer
Hosting a website on SpinupWP is easy when you follow these steps:
- Create a SpinupWP account.
- Connect your cloud server.
- Log in to the SpinupWP dashboard.
- Create a new website.
- Connect your custom domain.
- Update your DNS records.
- Enable a free SSL certificate.
- Upload your website files or install your preferred CMS.
- Test your website’s functionality and performance.
- Launch your website and monitor it regularly.
Quick Tip: Before creating your website, make sure your cloud server is fully connected and configured in SpinupWP to avoid setup delays.
Prerequisites
Before you begin, you’ll need:
- A SpinupWP account
- A cloud server from a supported provider
- A registered domain name
- A stable internet connection
- Website files or your preferred CMS
- Basic understanding of website hosting
Create a Workflow Manually (Recommended for Beginners)
If you’re new to WordPress server management, deploying your first website with SpinupWP is the best way to understand how the platform actually works.
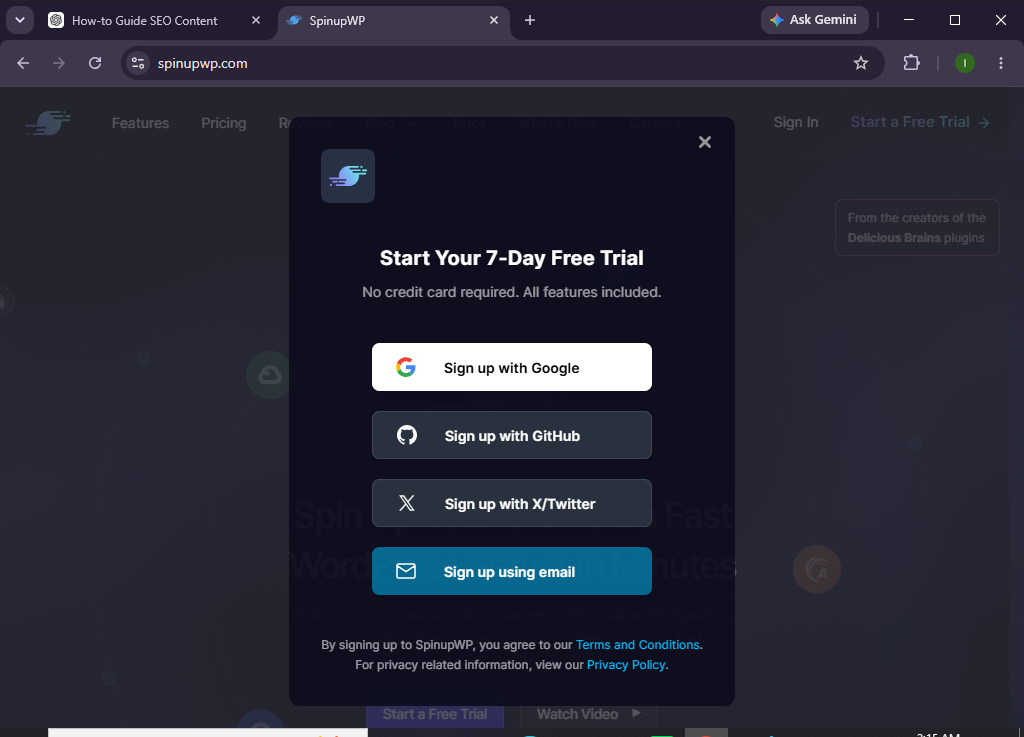
Step 1: Create Your SpinupWP Account
Visit the SpinupWP website and register for an account.
After signing up:
- Verify your email address.
- Log in to your dashboard.
- Review the onboarding guide.
Step 2: Connect Your Cloud Server
SpinupWP manages your own cloud server instead of providing hosting directly.
To connect your server:
- Create a server with your preferred cloud provider.
- Copy the connection details.
- Follow the installation instructions provided by SpinupWP.
- Wait for the server setup to complete.
Step 3: Access the Dashboard
Once your server is connected, open the SpinupWP dashboard.
Here you can manage:
- Servers
- Websites
- Databases
- SSL certificates
- Backups
- Monitoring
- Users
Take a few minutes to familiarize yourself with the available tools.
Step 4: Create a New Web Application
Click Create Site.
You’ll be asked to:
- Select your connected server.
- Enter your domain name.
- Configure basic website settings.
SpinupWP will prepare your hosting environment automatically.
Step 5: Connect Your Domain
To use your custom domain:
- Add your domain inside SpinupWP.
- Copy the server IP address or DNS information.
- Log in to your domain registrar.
- Update the DNS records.
Wait until DNS propagation is complete.
Step 6: Enable SSL
Secure your website with the free SSL certificate.
Confirm that:
- HTTPS is enabled.
- SSL status is active.
- Visitors can access your website securely.
A secure website helps build trust and supports better SEO performance.
Step 7: Upload Your Website
Now it’s time to add your website.
You can:
- Upload website files
- Install your preferred CMS
- Import an existing website
- Deploy using Git
- Restore from a backup
Choose the option that best fits your project.
Step 8: Optimize Your Website
Improve website performance by:
- Compressing images
- Keeping software updated
- Removing unused plugins
- Optimizing media files
- Configuring caching
- Cleaning unnecessary files
Review your configuration before publishing.
Step 9: Test Your Website
Before publishing, verify:
- Homepage
- Navigation menus
- Contact forms
- Mobile responsiveness
- SSL certificate
- Internal links
- Website loading speed
Resolve any issues before making your website public.
Step 10: Launch Your Website
After completing the setup:
- Publish your website.
- Share your domain with visitors.
- Monitor server resources.
- Continue maintaining your website regularly.
Your website is now successfully hosted using SpinupWP.
Want the flexibility of cloud hosting without the complexity?
Start using SpinupWP and manage your websites more efficiently from one intuitive dashboard.
How can you improve your website’s performance on SpinupWP?
Tips
- Choose a cloud server close to your audience.
- Keep your server software updated.
- Compress images before uploading.
- Enable automated backups.
- Remove unused plugins and files.
- Monitor server resources regularly.
- Test website speed after major updates.
What mistakes should you avoid when using SpinupWP?
Common Mistakes
- Connecting an incorrectly configured server
- Forgetting to update DNS records
- Publishing before SSL is activated
- Uploading large, unoptimized files
- Ignoring software updates
- Skipping regular backups
- Launching without testing the website
How can you keep your SpinupWP-managed website secure and reliable?
Best Practices
- Keep your server software updated.
- Use strong passwords and SSH keys.
- Schedule automatic backups.
- Monitor server performance regularly.
- Optimize website media files.
- Remove unused applications and plugins.
- Test your website after significant updates.
- Review firewall and security settings frequently.
- Upgrade your server resources as your website traffic grows.
How can you fix common SpinupWP hosting issues?
Troubleshooting
| Problem | Solution |
|---|---|
| Website isn’t loading | Verify your server connection and DNS records. |
| SSL certificate isn’t active | Confirm domain settings and wait for SSL provisioning. |
| Unable to connect to the server | Review SSH credentials and firewall settings. |
| Website loads slowly | Optimize images, enable caching, and monitor server resources. |
| Domain isn’t pointing correctly | Double-check your DNS configuration with your registrar. |
| Website displays server errors | Review server logs and restore a backup if necessary. |
Frequently Asked Questions
Is SpinupWP suitable for beginners?
Yes. While some basic server knowledge is helpful, SpinupWP simplifies cloud server management with an intuitive dashboard and automated tools.
Do I need my own server to use SpinupWP?
Yes. SpinupWP is a server management platform, so you’ll need a cloud server from a supported hosting provider.
Does SpinupWP include free SSL?
Yes. SpinupWP allows you to install free SSL certificates for your hosted websites.
Can I host multiple websites?
Yes. You can host multiple websites on the same server, depending on your server’s available resources.
Is SpinupWP suitable for agencies and freelancers?
Absolutely. SpinupWP is designed for agencies, developers, and freelancers who manage multiple websites efficiently.
Does SpinupWP support automatic backups?
Yes. SpinupWP allows you to configure automated backup solutions to protect your website data.
Conclusion
SpinupWP simplifies cloud server management by providing a powerful yet user-friendly platform for hosting and maintaining websites. From connecting your server and configuring your domain to enabling SSL and optimizing performance, it removes much of the complexity associated with self-managed hosting.
By following this guide, you can confidently launch a secure, high-performing website while benefiting from SpinupWP’s automation, scalability, and efficient server management tools.
Ready to simplify cloud server management?
Get started with SpinupWP today and enjoy greater control, improved performance, and the flexibility to manage your websites from one powerful platform.